“`html
Why Your Breville Barista Express Leaks From the Grouphead
The Breville Barista Express grouphead leaking issue has gotten complicated with all the conflicting advice flying around. I’ve owned this machine for nearly four years, and last spring mine started dripping water from the group like a broken tap. Before I panicked and called support—which would’ve cost me $89 just for the phone consultation—I spent two weeks diagnosing the problem myself.
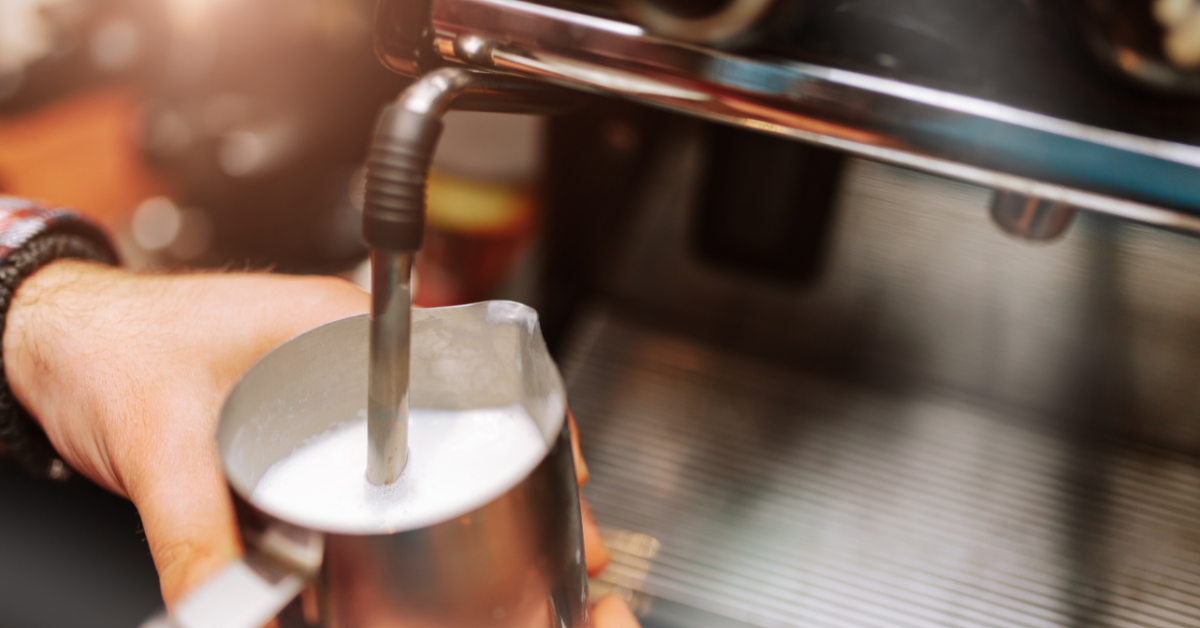
Here’s what I found. The most common culprit, and I mean this accounts for roughly 80% of these failures, is a worn gasket. The grouphead gasket is a rubber ring that seals the portafilter basket into the group. It’s about the size of a washer, costs $12 to $18, and gets compressed thousands of times per year. After about 500 espresso shots, mine was completely flattened.
But what is this gasket, exactly? In essence, it’s a rubber seal — but it’s much more than that. It’s the only thing standing between a functional machine and water pouring everywhere.
The second cause is coffee grounds trapped in the seal area. This one surprised me because it seems too simple to actually be the problem. A single piece of ground coffee lodged between the gasket and the group seat prevents a proper seal. Water finds the path of least resistance and leaks down the front of the machine. I actually caused this myself once by overfilling the basket — don’t make my mistake.
Third, and this is embarrassing to admit, portafilter insertion angle causes leaks. The grouphead isn’t forgiving. You twist the portafilter in at an angle instead of straight, and it won’t seat evenly. One side compresses the gasket more than the other. Water escapes from the gap.
Which one is yours? That’s what this article teaches you to figure out. Most people jump straight to buying a replacement gasket — which is fine, it’s cheap — but some leaks aren’t gasket problems at all.
The Gasket Replacement Fix That Actually Works
Replacing the Breville Barista Express grouphead gasket takes about 15 minutes and requires one tool you probably already own.
First, order the correct part: Breville part number SP0001397. It’s the group seal gasket for the Barista Express and BES870 models. Not the BES875 — different gasket entirely. Not some generic espresso gasket from Amazon either — wrong dimensions. The official part runs $16.99 from Breville’s site or $12 on eBay. I’ve tried the knockoffs. They fail faster and it becomes a waste.
You’ll need a 17mm wrench or adjustable wrench. That’s genuinely it. Some people use a flathead screwdriver, but a wrench is cleaner and you won’t risk marring the metal.
Here’s the actual process:
- Power off the machine and let it cool for at least 10 minutes. The grouphead gets hot enough to hurt — and that’s not the kind of attention-grabbing I recommend.
- Remove the portafilter and basket by pulling straight down. Don’t twist it.
- Look directly into the group. You’ll see the brass shower screen sitting in a metal seat. That seat is held in by one central nut. Position your wrench around that nut — it’s recessed, so you might need to angle the wrench carefully to get a grip.
- Turn counterclockwise slowly. After about two full rotations, the nut will loosen. Keep going until you can unscrew it by hand. This usually takes three to four turns total.
- When it’s free, remove the shower screen. You’ll see the gasket underneath — it’s the rubber ring sitting in a groove. Pop it out with your fingernail or a plastic spoon handle. Don’t use anything metal or you’ll scratch the group seat.
- Clean the groove thoroughly. Use a damp cloth and get all the old rubber bits and compressed coffee residue out. This is critical. A dirty groove won’t seal even with a new gasket.
- Install the new gasket by pressing it firmly into the groove. It should sit flat and flush all the way around. Walk your finger around the circle and confirm it’s even.
- Replace the shower screen so the holes face down into the group.
- Thread the nut back in by hand first, then tighten with your wrench. Tighten until it’s snug — you’ll feel resistance. Stop here. This is where people make mistakes. Over-tightening the nut deforms the new gasket and defeats the entire purpose.
How tight is tight enough? Your wrench should require steady pressure, not straining effort. The gasket should be compressed, not crushed. If you over-tighten, you’ll actually create a leak worse than before because the gasket gets pushed out of its groove.
Reinstall the portafilter and run the machine for 10 seconds without a basket. You’re checking for leaks. If water comes out of the grouphead where it shouldn’t, either your gasket isn’t seated properly — restart at step six — or you tightened too much. Loosen one half-turn.
Quick Diagnosis Before You Buy Parts
Probably should have opened with this section, honestly. Not every grouphead leak is a gasket problem, and buying the wrong part is money wasted.
Watch your machine under specific conditions. Turn on the machine and let it heat for 30 seconds after the light goes out. Now look at the grouphead. Does water actively drip before you insert the portafilter? If yes, that’s likely an internal seal issue inside the group itself — not the gasket. This one requires professional repair or a replacement group.
Does the leak only happen when you insert the portafilter and pull a shot? Insert the portafilter slowly and watch the bottom area where it meets the group. Water leaking from the side points to a gasket problem. Water leaking from underneath after you lock it in — also gasket-related.
What color is the leak? Water that looks brown or tan means coffee grounds are involved. The liquid is espresso, not water. This points to grounds in the seal, not a worn gasket. The gasket replacement might help, but you probably need a deeper clean first.
How long into the shot does the leak start? If water leaks immediately when you lock in the portafilter, before any espresso flows, the seal isn’t making contact. That’s a gasket or angle issue. If the leak appears three seconds into the shot — after espresso starts coming out normally — the gasket is probably worn and pressure is forcing water around it.
Is the leak from the same spot every time? Draw a mental map. Left side of the group, right side, directly underneath? A consistent leak from one location suggests the gasket isn’t seated evenly. Inconsistent or spray-pattern leaks often mean grounds or debris is the culprit.
Can you twist the portafilter side-to-side when it’s locked in? Try gently — don’t force it. Any movement means the seal isn’t tight. Either replace the gasket or check your insertion angle.
When to Stop and Call Breville Instead
I’m telling you this because I want you to save money where you can, but also to know when you’re looking at something beyond a $16 fix.
If water drips from the grouphead constantly — even when the portafilter is removed and the machine is idle — that’s an internal group seal. This isn’t the gasket you can replace yourself. The seal is inside the group housing, and it requires either a replacement group assembly for $180 or more, or sending the machine back to Breville at $150 repair fee plus shipping.
If you replaced the gasket, cleaned everything properly, confirmed correct installation, and the leak persists from the same location — stop. You don’t have a gasket problem. Breville needs to look at this.
About warranty: if your machine is still under the one-year limited warranty — most Barista Express units are — Breville covers this for free. They’ll replace the group or repair it. You don’t want to void that by taking apart something you’re unsure about. If you’re past warranty, then the $16 gasket replacement is worth trying first.
One more thing — if you see water leaking from the boiler area, below the group and inside the machine, rather than from where the portafilter meets the group, that’s a boiler seal or internal line issue. Not a grouphead gasket problem. That needs professional service.
Preventing This Next Time
Once you’ve fixed this leak, the goal is to not be back here in six months. I developed a routine that’s kept my machine leak-free for two years since the replacement.
After every shot, remove the portafilter immediately. Don’t let the group cool with the basket still inserted. The rubber gasket stays compressed longer than it should, and that accelerates wear faster than normal use would. Immediate removal releases the pressure.
Run water through the group once per week without the portafilter installed. Lock the grouphead into the “purge” position and let water flow for three seconds. This flushes grounds and residue before they have time to dry and cake on.
Clean the portafilter basket every single day. I use a small brush — an old toothbrush works fine — and hot water. Coffee oil buildup creates seal problems. You’d be amazed how much residue collects.
Replace the gasket every 800 to 1,000 shots. I know that sounds frequent, but at two shots per day — my typical use — that’s about one year. Mark it on your calendar if you track your espresso volume. It’s preventive maintenance, not reactive repair.
Check your portafilter insertion angle once monthly. Hold the machine at eye level and insert the basket slowly. It should slide in straight, not at an angle. If you notice yourself twisting it to get it in, the group might be getting coffee-stained or buildup is affecting the seat. Clean it with the weekly purge I mentioned.
That’s it. No complicated rituals or expensive equipment. Just those five things, and you’ll avoid this whole conversation again.
“`