Whipped Cream Dispenser vs Hand-Whipped: Which Makes Better Coffee Toppings?
By Jason Michael | Last updated: January 2026
Starbucks whipped cream hits different. It’s denser than Cool Whip, sweeter than regular whipped cream, and has that vanilla undertone that ties everything together. After way too many attempts to replicate it, I finally cracked the formula.
The secret? Heavy cream, vanilla syrup, and a charger-style whipped cream dispenser. Here’s exactly how they make it—and how you can too.

The Actual Starbucks Recipe
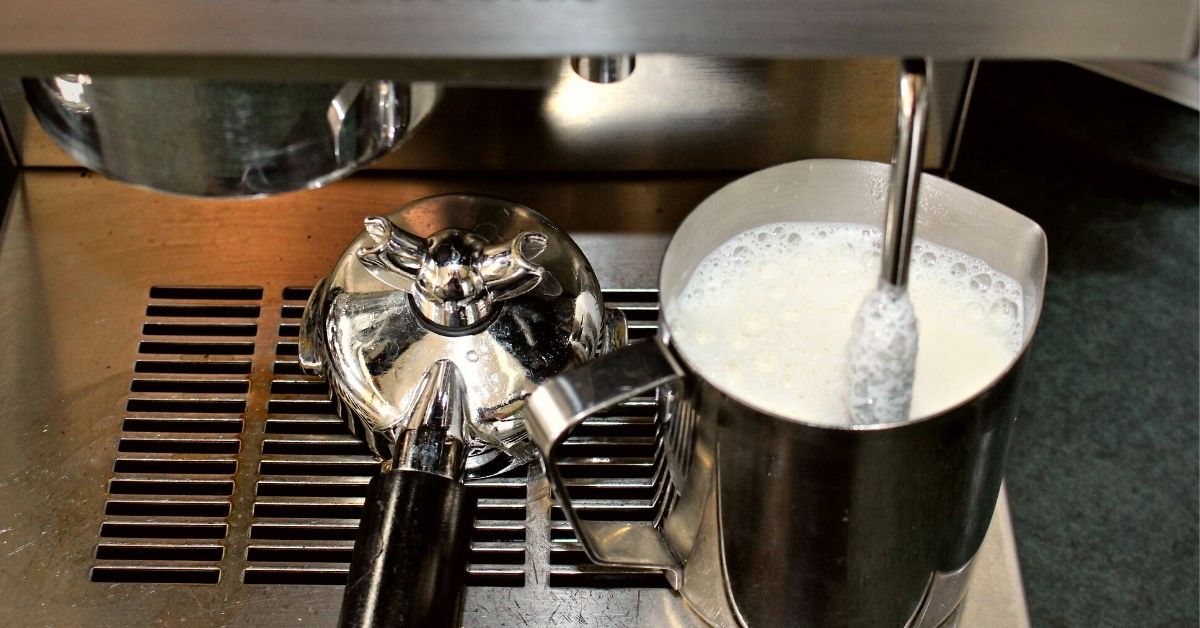
Starbucks baristas make whipped cream in batches using an iSi whipped cream dispenser (those metal canisters with N2O chargers). The recipe is dead simple:
Official Starbucks Whipped Cream
Ingredients:
- 1 pint (2 cups) heavy whipping cream
- 8 pumps vanilla syrup (about 4 tablespoons)
Equipment needed:
- Whipped cream dispenser (iSi, Mosa, or similar)
- N2O charger cartridges
Instructions:
- Pour heavy cream into the dispenser
- Add vanilla syrup
- Seal the dispenser and shake vigorously for 30 seconds
- Insert N2O charger, shake again for 10 seconds
- Refrigerate until ready to use
- Shake before each use
That’s it. No cooking, no whipping by hand, no stabilizers. The dispenser does all the work.
No Dispenser? Here’s the Hand-Whipped Version
If you don’t want to invest in a whipped cream dispenser (they’re about $30-50), you can absolutely make this by hand. The texture will be slightly different—less airy, more dense—but the flavor will be spot on.
Hand-Whipped Starbucks-Style Cream
Ingredients:
- 1 cup heavy whipping cream (cold)
- 2 tablespoons powdered sugar
- 1 teaspoon vanilla extract
Instructions:
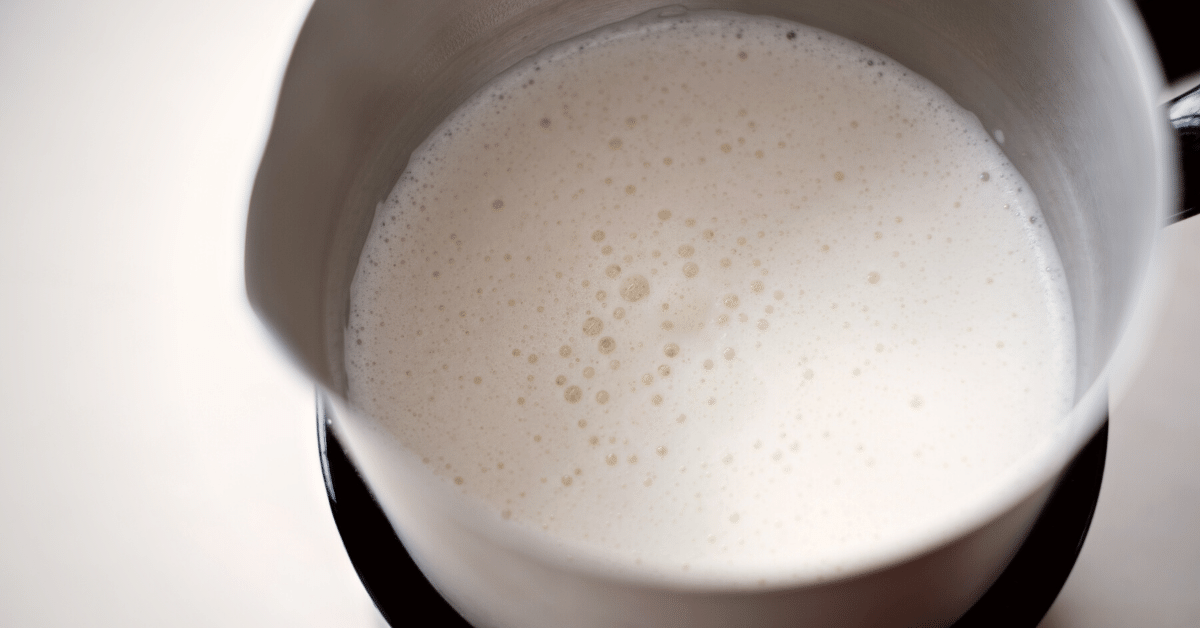
- Chill your mixing bowl and whisk attachment in the freezer for 10-15 minutes (this makes a huge difference)
- Pour cold heavy cream into the chilled bowl
- Start whipping on medium speed until the cream begins to thicken (about 2 minutes)
- Add powdered sugar and vanilla extract
- Continue whipping until stiff peaks form (another 2-3 minutes)
- Don’t over-whip or you’ll make butter
Use immediately or refrigerate for up to 24 hours. It will deflate over time, so make it fresh when possible.
Why Powdered Sugar Instead of Vanilla Syrup?
When you’re whipping by hand, liquid vanilla syrup can mess with the emulsion. The cream won’t whip as stiffly because you’re adding water content. Powdered sugar dissolves into the fat without adding liquid, and the vanilla extract provides the flavor.
If you have Starbucks vanilla syrup and want to use it, reduce the amount to 1 tablespoon and add 1 tablespoon of powdered sugar to compensate.
Starbucks Whipped Cream Ingredients (What’s Actually in It)
For those wondering what Starbucks puts in their whipped cream officially:
- Heavy cream — At least 36% milk fat
- Vanilla syrup — Sugar, water, natural flavors, potassium sorbate, citric acid
That’s genuinely it. No gums, no stabilizers, no artificial anything. The N2O charger handles the texture, so they don’t need additives.
Compare that to canned whipped cream (Reddi-wip, etc.) which contains corn syrup, emulsifiers, and propellants. The Starbucks version is actually cleaner.
Making Flavored Whipped Cream Variations
Once you’ve got the base recipe down, you can make any of Starbucks’ seasonal variations:
Pumpkin Spice Whipped Cream
- Base recipe + 2 tablespoons pumpkin spice sauce
- Add a pinch of actual pumpkin pie spice for extra depth
Mocha Whipped Cream
- Base recipe + 2 tablespoons mocha sauce (or chocolate syrup)
- Works great on hot chocolate and mochas
Caramel Whipped Cream
- Base recipe, but replace vanilla syrup with caramel syrup
- Drizzle extra caramel on top when serving
Irish Cream Whipped Cream
- Base recipe + 2 tablespoons Irish cream syrup (Torani makes a good one)
- Or add 1 tablespoon actual Baileys for adult beverages
Tips for Perfect Whipped Cream Every Time
After messing this up more times than I’d like to admit, here’s what I’ve learned:
Cold everything. Cold bowl, cold whisk, cold cream straight from the fridge. Warm cream won’t whip properly—the fat needs to be solid.
Heavy cream only. Don’t try to substitute half-and-half or light cream. You need at least 36% milk fat for the cream to hold structure. Heavy whipping cream works best.
Watch for stiff peaks. When you lift the whisk and the cream holds its shape with a little peak that doesn’t flop over, you’re done. Keep whipping past this point and you’ll start making butter (ask me how I know).
Use it fast. Hand-whipped cream deflates within hours. Dispenser whipped cream lasts longer (up to a week refrigerated) because the N2O structure is more stable.
Don’t add liquid too early. Always start whipping plain cream first. Add sugar and flavorings once it’s starting to thicken, not at the beginning.
Do You Really Need a Whipped Cream Dispenser?
Honestly? If you make whipped cream regularly, yes. Here’s why:
- Speed: 30 seconds vs 5+ minutes of whipping
- Texture: Lighter, airier, more like Starbucks
- Shelf life: Dispenser cream lasts a week, hand-whipped lasts hours
- Convenience: Always ready in the fridge
An iSi dispenser costs about $35-50 and lasts years. Chargers run about $0.50 each. If you’re making Frappuccinos, hot chocolate, or fancy coffee drinks at home regularly, it pays for itself fast.
If you only make whipped cream a few times a year, stick with hand-whipping. It’s not worth the cabinet space.
Common Mistakes and How to Fix Them
Problem: Cream won’t thicken
Solution: Your cream isn’t cold enough or doesn’t have enough fat content. Switch to heavy whipping cream and chill everything longer.
Problem: Grainy texture
Solution: You added granulated sugar instead of powdered. Granulated doesn’t dissolve properly. Use powdered sugar or whip longer before adding it.
Problem: Cream turned into butter
Solution: You over-whipped. Nothing to do but start over. Watch for stiff peaks and stop immediately when you see them.
Problem: Whipped cream deflated after sitting
Solution: This is normal for hand-whipped cream. Make it right before serving, or invest in a dispenser for longer hold.
Problem: Tastes too sweet / not sweet enough
Solution: Adjust the sugar/syrup amount. Start with less than the recipe calls for and add more to taste. You can always add more—you can’t take it out.
Bottom Line
Starbucks whipped cream is just heavy cream and vanilla syrup whipped with nitrous oxide. No magic, no secret ingredients. With the right technique—whether by dispenser or by hand—you can make the exact same thing at home for a fraction of the cost.
One pint of heavy cream costs about $4 and makes enough whipped cream for 10-15 drinks. That’s roughly $0.30 per drink versus paying Starbucks an extra dollar or more for their version. Plus you can customize flavors however you want.
Related: What Is Frappuccino Roast? | 15 Starbucks Drinks You Can Make at Home