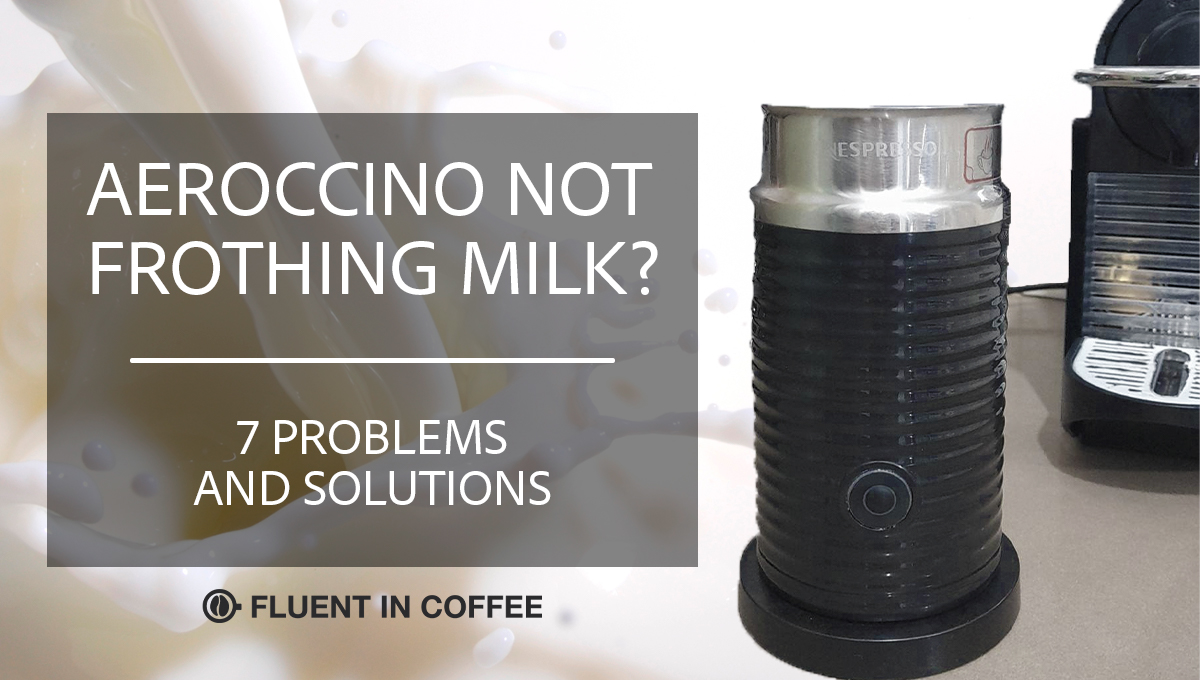
If your Nespresso Aeroccino is not working, unplug it and check four things first: the jug and base connector are completely dry, the whisk is clean and seated correctly, the milk is between the correct level marks, and the unit has cooled between cycles.
Do not open the frother, solder its circuit board, replace internal sensors or scrub electrical contacts with a wire brush. If the safe checks below do not solve the problem, use Nespresso’s model-specific support or warranty service.
Nespresso Frother Troubleshooting: Quick Chart
| Symptom | Most likely checks | Safe next step |
|---|---|---|
| Does not turn on | Outlet, jug position, wet connector, missing or mis-seated whisk | Unplug, dry and reassemble; try another working outlet |
| Red light flashes | Overheated unit, whisk problem, too little milk or residue | Cool, clean, reinstall whisk and use a valid fill level |
| Heats but does not froth | Wrong whisk setup, residue, warm/old milk or milk variation | Clean whisk and jug; retry with fresh refrigerated milk |
| Milk burns | Residue on jug bottom, immediate repeat cycle or wrong fill | Cool and clean with non-abrasive materials |
| Milk overflows | Filled above the froth maximum | Use the lower MAX line for frothing |
| Still dead after checks | Possible electrical or internal fault | Stop using it and contact Nespresso |
1. Aeroccino Does Not Start
- Unplug the base before inspecting or cleaning it.
- Confirm the outlet works with another appliance and that the plug is fully inserted.
- Lift the jug, wipe its underside and the base connector dry, and let any hidden moisture evaporate.
- Place the whisk correctly on the magnetic post inside the jug.
- Seat the jug squarely on its base.
- Add milk to an indicated operating level and try again.
Nespresso states that an Aeroccino starts only when the jug is positioned correctly and the connectors are dry. Never immerse the powered base in water.
2. Red Light Is Blinking
A blinking red light commonly means the frother is too hot or has detected a setup problem. Remove the jug carefully, allow it to cool, rinse the jug as permitted by your manual, and dry the connector area completely.
- Make sure the whisk is present and attached correctly.
- Check that there is enough milk to reach a valid level mark.
- Remove milk residue from the jug bottom and whisk.
- Do not immediately run repeated hot cycles without cooling and cleaning between them.
On the Aeroccino 4, all four buttons flashing rapidly indicates an error. Nespresso’s manual says to cool and clean the unit, check the whisk and milk level, ensure no water is on the base, and contact Nespresso if the error remains.
3. Aeroccino Heats but Does Not Froth
Start with the whisk. Some Aeroccino versions use a removable spring or separate frothing and heating configurations. The metal spring produces more foam; a heating-only setup intentionally creates little foam. Follow the diagram in your exact model’s manual.
Then check the milk. Nespresso recommends fresh, cold milk at refrigerator temperature—about 4–6°C (39–43°F)—for consistent results. Froth varies by milk brand, protein content, freshness and season, so a different carton can behave differently even when the appliance is fine.
- Shake the milk container gently before pouring.
- Try a newly opened carton of refrigerated milk.
- For plant drinks, choose a barista formulation designed to foam.
- Do not add syrup, sugar or chocolate powder directly unless your model’s instructions explicitly allow it.
Soy, almond and oat drinks can work; the old claim that most plant milks “simply don’t work” is not accurate. Results vary by formulation.
4. Milk Is Burning or Sticking
A thin film of milk on the jug bottom can cause uneven heating and worsen with each cycle. Clean the jug immediately after use once it is safe to handle.
- Unplug the base and let the jug cool.
- Remove the lid, seal, whisk and spring where applicable.
- Wash permitted parts with mild detergent and warm water using a soft, non-abrasive sponge.
- Rinse and dry every part, especially the underside and connector recess.
- Reassemble only when completely dry.
Do not use wire brushes, sharp tools, abrasive pads or harsh soaking mixtures; Nespresso warns these can scratch or damage the coating. Aeroccino 4 instructions permit dishwasher cleaning for specified removable parts at the stated maximum temperature, while older models may differ. Check your exact manual before using a dishwasher.
5. Milk Overflows
Use the lower MAX line when creating foam and the higher MAX line only for heating milk. Froth expands, so filling to the heating mark while using a frothing whisk can cause overflow.
For the Aeroccino 4, Nespresso lists 120 ml at the lower “Max Foam” indicator and 240 ml at the higher “Max Milk” indicator. Do not assume those exact volumes apply to every Aeroccino version—use the marks inside your own jug.
6. Aeroccino Is Not Heating
Confirm you selected a hot program. On Aeroccino 3, a short press starts hot preparation and the light appears red; holding the button for about two seconds starts cold froth and appears blue. Aeroccino 4 uses separate program buttons.
Let the cycle finish automatically. Removing the jug early can leave the milk insufficiently heated. If the whisk spins and the program is correct but the unit stays cold, stop using it and contact Nespresso rather than opening the electrical housing.
How to Reset a Nespresso Aeroccino
Aeroccino 3 and 4 manuals do not provide a consumer factory-reset sequence like a coffee machine may have. The practical safe restart is:
- Stop the cycle and unplug the base.
- Let the unit cool fully.
- Clean and dry the jug, whisk and connector area.
- Wait several minutes, reconnect power and try one correctly filled cycle.
If the same error returns, repeated power cycling is unlikely to repair an internal fault. Use the official Nespresso machine-assistance page to select your exact model.
When to Stop Troubleshooting
- The cable, plug or base is damaged.
- The unit was dropped or immersed.
- You see scorching, melted plastic or persistent corrosion.
- It trips a breaker, sparks or smells electrical.
- Errors continue after safe cleaning, cooling and reassembly.
Unplug the frother and contact Nespresso. The company’s instructions say damaged or malfunctioning appliances should be examined or repaired by an authorized service facility. Opening the housing can create shock and fire risks and may affect warranty coverage.
Aeroccino FAQ
Why did my Aeroccino suddenly stop frothing?
The most common safe checks are overheating, residue around the whisk, incorrect whisk placement, warm or older milk, and a wet connector. Cool, clean and dry the unit before trying fresh refrigerated milk.
Can I use vinegar to clean an Aeroccino?
Use the cleaning method in your model’s manual. Current Nespresso instructions emphasize mild detergent, warm water and non-abrasive materials; they do not instruct users to soak the whisk in vinegar and salt.
Can I repair the heating element myself?
No consumer repair procedure is provided. Do not open or solder the appliance. If it powers on but will not heat after correct setup, contact Nespresso or an authorized service provider.
Bottom Line
Most Aeroccino problems worth checking at home come down to heat, cleanliness, whisk placement, milk level, milk temperature or moisture on the connector. Clean with non-abrasive materials, let the unit cool, keep the base dry and use your model’s fill marks. Leave internal electrical faults to Nespresso.
Sources: Nespresso’s Aeroccino 4 user manual and official machine-assistance library.