The Exact Recipe Starbucks Uses
Copycat Starbucks recipes have gotten complicated with all the misinformation flying around. As someone who spent an embarrassing number of Tuesday mornings reverse-engineering this specific whipped cream, I learned everything there is to know about getting it right. Today, I will share it all with you.
Most recipes online just guess. Here’s what actually works:
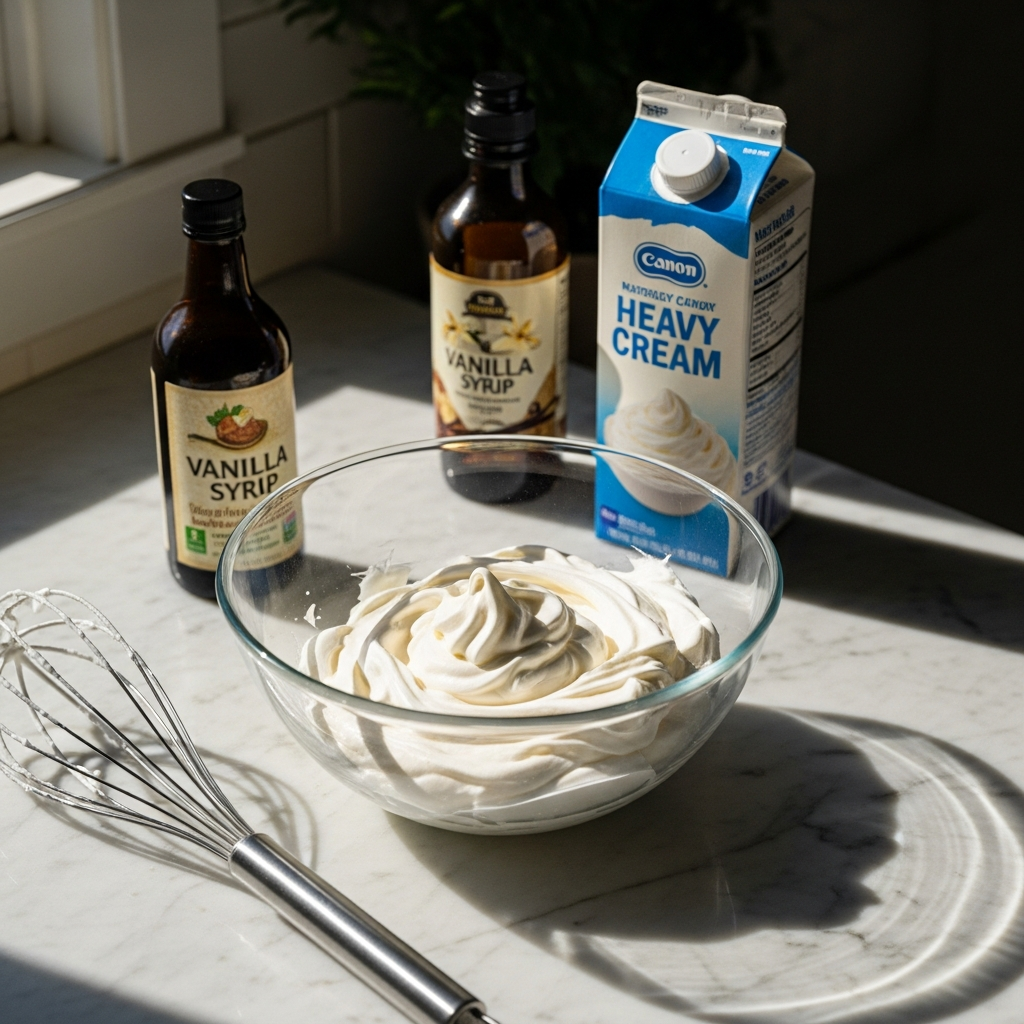
- 2 cups heavy whipping cream — 36% fat minimum. Not “heavy cream,” which can dip to 30% and won’t hold its shape the same way.
- 1 cup Starbucks Vanilla Syrup — the bottle with the red pump top. That 2:1 ratio by volume is non-negotiable.
That’s it. Two ingredients.
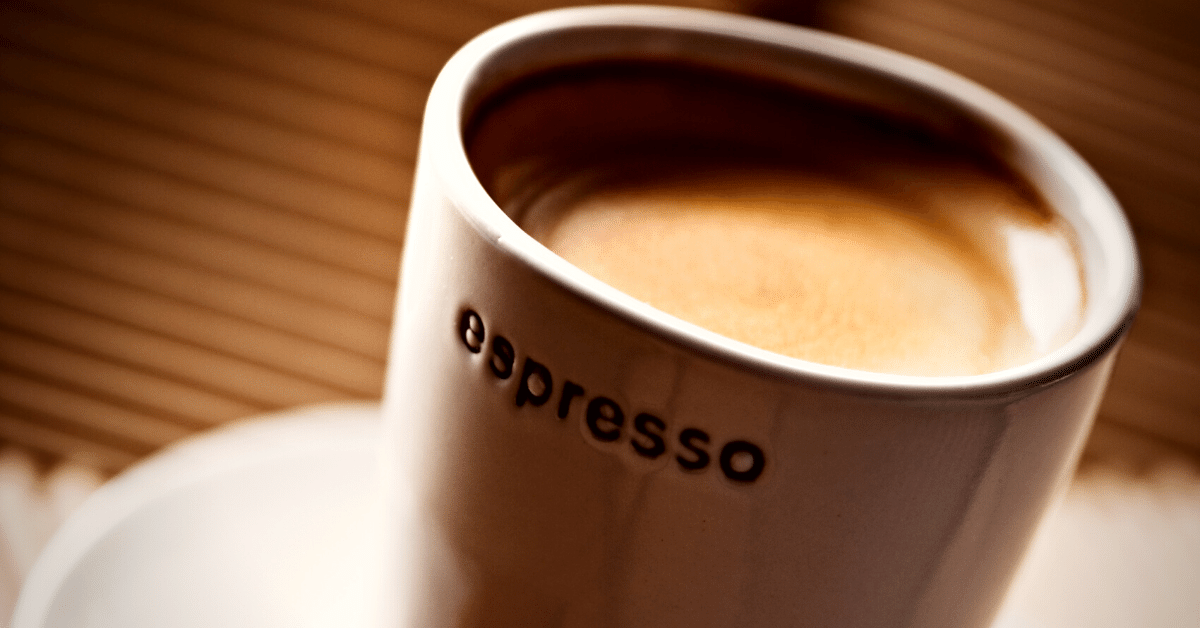
Starbucks whips theirs inside a pressurized 1-liter dispenser loaded with two N2O chargers. You don’t need that setup at home. A hand mixer on medium-high speed, cold cream, 90 seconds. You’re aiming for stiff peaks — the kind that hold a dome on a hot drink for 3 to 4 minutes without weeping. Dense enough to pipe a spiral without it collapsing on you.
One clarification before you go shopping: Starbucks Vanilla Sweet Cream is a completely different product. It’s a cold foam they use on cold brew. Don’t mix those up. The Vanilla Syrup is what you need — red pump top, shelf with the syrups, not the refrigerated section.
Why Store-Bought Vanilla Extract Won’t Work the Same Way
I tried the substitution route first. One teaspoon of vanilla extract plus two tablespoons of powdered sugar mixed into whipped cream — honestly, it tastes pretty close. Fine if you’re drinking it immediately.
But it’s not the same. And I’ll tell you exactly why.
Starbucks Vanilla Syrup isn’t just vanilla flavoring. The ingredient list reads: sugar, water, natural flavor, potassium sorbate. That syrup contributes both sweetness and dissolved sugar concentration that plain extract simply cannot match. Sugar stabilizes whipped cream — it increases viscosity and slows oxidation. That’s why syrup-based whipped cream holds its structure so much longer than extract-based versions.
The extract version deflates noticeably after 10 to 15 minutes on a hot drink. The syrup version? Three to four minutes before any real weeping starts. If you’re photographing the drink or serving it to someone else, use the syrup. Drinking it in the next five minutes? Extract works fine.
Don’t tell yourself both are equally great. They’re not. One measurably outperforms the other at the specific job you’re doing.
The Two Mistakes That Make It Flat or Grainy
Probably should have opened with this section, honestly. These two failure points account for 90% of homemade whipped cream disasters.
Mistake 1: Warm cream going into the mixer.
Cream needs to be between 35 and 40°F. Starbucks refrigerates the entire dispenser. If your kitchen is sitting at 78°F on a summer afternoon, your cream starts failing the moment whipping begins. You’ll never get past soft peaks. The fat particles won’t emulsify into stable structures — they just kind of give up.
Pull your cream from the coldest part of your fridge. Put your mixing bowl and beaters in the freezer for 10 minutes first if your kitchen runs warm. Sounds fussy. It’s not. It’s the difference between success and a bowl of slightly thickened liquid.
Mistake 2: Over-whipping past stiff peaks.
The Starbucks texture is dense and pipeable. Not light and airy like pie topping. Stop at stiff peaks. Hand mixer on medium-high — that’s roughly 90 seconds. One minute thirty seconds. Not two minutes. Not three.
Go past that and the fat globules break down. The mixture shifts from smooth to chunky. A yellow-tinged sheen appears on the surface. That’s buttermilk separating from the fat. There’s no fixing it at that point. You’ve broken the emulsion entirely.
I’m apparently someone who gets distracted mid-whip and ruined a full batch while making drinks for friends one morning. Got lost in a conversation, came back to a bowl that looked like broken scrambled eggs. Started over. Took four extra minutes I didn’t have. Don’t make my mistake — set a timer for 85 seconds and watch it.
How to Pipe It Like a Barista
Starbucks uses a pressurized cream whipper with a specific nozzle that creates that tall spiral dome. A spoon won’t get you there. Neither will a zip-lock bag with a corner snipped off — tried it, not great.
At home, use a piping bag fitted with a 1M or 1G star tip — Wilton makes both, usually under $3 each at craft stores. Hold the bag perpendicular to the cup. Start at the outer edge of the rim. Spiral inward and upward in one continuous motion. Finish with a quick upward pull to create the peak. The first attempt will look lumpy and off-center. That’s completely normal. By the third drink, the motion becomes automatic.
An iSi Gourmet Whip pressurized dispenser might be the best option, as replicating Starbucks’ texture at home requires consistent pressure and the right dispensing nozzle. That is because the N2O environment keeps the cream aerated and stable in a way a piping bag simply can’t maintain over time. The iSi runs $30 to $40 — load it with your whipped cream mixture and one N2O charger. Clean the nozzle thoroughly after each use or it gets gunked up fast.
Making It Ahead and Storing It
Whipped cream made with Starbucks syrup holds in a sealed piping bag for up to 48 hours refrigerated before it starts weeping noticeably. The sugar content in that syrup buys you that window — plain whipped cream wouldn’t last nearly as long.
Using a pressurized N2O dispenser? You’re looking at five days. The sealed environment slows oxidation significantly.
Storing in a bowl works, but press plastic wrap directly onto the surface of the cream — not draped over the top of the bowl. The wrap needs to touch the cream to prevent air exposure. Don’t freeze it. It separates on thaw and won’t re-whip back to anything usable.
You’ll know it’s gone bad when liquid pools at the bottom of the container and re-whipping doesn’t restore the structure. That’s when you start fresh. It’s not worth trying to salvage at that point — the emulsion is gone and you’ll just be frustrated.