The Short Version If You Just Want to Make the Coffee
French press coffee has gotten complicated with all the conflicting advice flying around. So let me just give you the method straight. James Hoffmann’s approach runs on a 1:15 coffee-to-water ratio by weight — 30 grams of coffee, 450 grams of water. Water temperature sits around 200°F, just off the boil. Hoffmann isn’t precious about hitting that number exactly, and honestly, neither am I.
Pour the water, then bloom for 30 seconds. After that, you brew for 4 minutes. No stirring. At the 4-minute mark, break the crust on top with a gentle stir, then skim the foam and floating grounds off using two spoons. Now here’s the part most people skip entirely: wait another 5 to 8 minutes. Let the sediment fall. Then pour slowly, leaving the sludge sitting at the bottom of the pot.
Do not plunge. That single step breaks the whole method.
Total time is closer to 12 minutes than 4. Most guides won’t tell you that. That gap — right there — is the actual difference between Hoffmann’s method and every other French press tutorial you’ve read.
Why He Tells You Not to Plunge
Probably should have opened with this section, honestly. The no-plunge rule isn’t philosophical — it’s mechanical. When you push that plunger down, you’re forcing water through a metal mesh while fine coffee particles are still floating around in suspension. Those particles are small enough to slip right through the mesh. They land in your cup, create sediment, and muddy up whatever flavor was actually there.
Skip the plunge, let everything settle naturally, and those fines just drop to the bottom over 5 to 8 minutes. What you pour off is the clean liquid sitting above them. The mesh ends up almost irrelevant — it’s just holding the grounds in place, not doing any real filtering.
I ran this side by side. Same beans. Same grind. Same water temperature. That was on a Tuesday morning with a bag of Ethiopian natural I’d been working through. One cup brewed Hoffmann’s way. One cup plunged the way I’d been doing it for three years. The difference is real — sharper, cleaner, with actual flavor definition you can pick apart. No sediment texture on your teeth. No chalky thing coating the back of your throat. The plunged version wasn’t bad. I drank it. But it tasted softer, less defined, like the flavor was wrapped in gauze.
Don’t make my mistake. The no-plunge rule isn’t optional. It’s the reason the method exists.
Grind Size Is Where Most People Get It Wrong
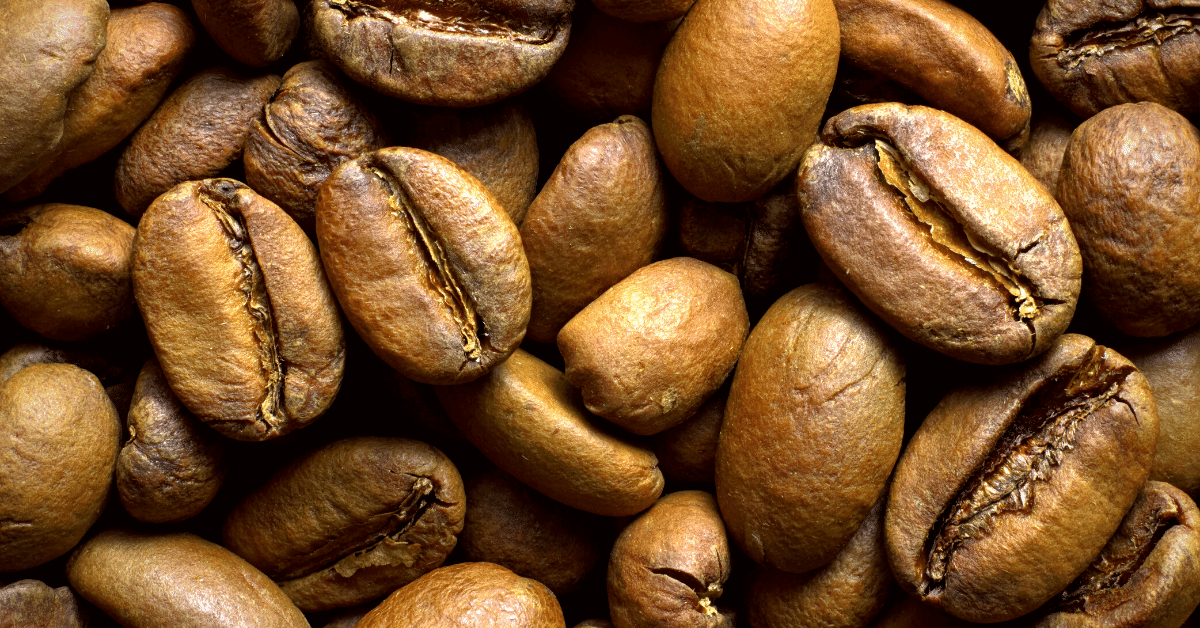
Hoffmann calls for coarser than what most French press guides recommend. Most say “French press grind,” which usually lands somewhere between sea salt and breadcrumbs. His target is closer to breadcrumbs with a few pebbles mixed in — noticeably chunkier than you’d expect.
Finer grounds stay suspended in water longer. If you’re waiting 8 minutes for sediment to drop, a finer grind means extraction keeps running the whole time. By the time you pour, you’ve gone too far. Bitter, dry, flat. A coarser grind settles faster and extracts less aggressively during the 4-minute steep window. Both things work in your favor at once.
On a Baratza Encore, this lands around the 30 to 32 mark. I’m apparently a 31 person and that setting works for me while anything below 28 never really settles right in the wait window. On a 1Zpresso JX hand grinder, you’re looking at roughly 80 to 90 clicks depending on your specific model. If your grinder just has a verbal dial — no numbers — “coarse” is correct, but push toward the larger end of that range.
I tested the wrong grind too. Used a setting that was still pretty coarse by normal standards but finer than Hoffmann’s target. The cup came out bitter and dry. Sediment hadn’t dropped by the 8-minute mark — I had to wait past it, and by then the damage was done. Dialing back to the correct coarser setting erased that bitterness completely. Same beans, same everything else. The grind did all the work.
What Changes When You Follow It Exactly vs. Eyeballing It
Most coffee shortcuts feel minor until you taste the result. So, without further ado, let’s dive in — here’s what I actually found testing each variable:
- Not weighing the coffee and water: Probably the least critical shortcut. Eyeballing within 10 percent doesn’t destroy the cup — 28 grams instead of 30 is minor. You’ll notice a difference once you’re off by 20 percent or more. Still, weighing takes 30 seconds and makes every brew consistent without thinking about it.
- Skipping the bloom: This one matters more than people expect. Without that 30-second bloom, the first pour hits dry grounds and immediately over-extracts the surface layer while deeper grounds lag behind. The cup comes out sharp but unbalanced. The bloom lets everything extract evenly from the start.
- Plunging anyway: This is the deal-breaker — full stop. Sediment comes back, clarity disappears, flavor flattens out. You’ve undone the whole point.
- Skipping the crust break and skim: Also significant. Skip it and those floating grounds re-suspend into your pour. Not as bad as plunging, but the sediment comes back, and so does the texture.
- Waiting only 2 to 3 minutes instead of 5 to 8: The sediment hasn’t dropped yet. You pour murky coffee. The flavor is technically there — it’s just grainy and unpleasant to drink.
The thing that surprised me most: grind size matters more than timing precision. I assumed hitting the 4-minute mark exactly would be the biggest variable. It’s not. Get the grind right and the method forgives a minute off the timer without much damage. Get the grind wrong and perfect timing saves nothing.
The One Thing Hoffmann Does That Most Guides Leave Out
But what is the crust-breaking step, exactly? In essence, it’s a targeted skim at the 4-minute mark that removes floating material before the settling phase. But it’s much more than that — most online summaries of his method mention it and immediately move on, which misses why it works.
Here’s exactly what happens. After 4 minutes, a layer of foam and floating grounds sits on the surface. Stir gently — just enough to break the crust without disturbing the whole pot. Then use two spoons to skim the foam and floating grounds out and discard them. This takes maybe 60 to 90 seconds. What’s left to settle is primarily the smaller particles you actually want to drop. Settlement happens faster and more completely because the larger floaters are already gone.
After skimming, you wait 5 to 8 minutes. Total brew time becomes 9 to 12 minutes, not 4. Worth it? For me, unquestionably — the clarity in the cup justifies every extra minute. That said, if you need coffee in 5 minutes on a weekday morning, this method genuinely isn’t for you. That’s not a criticism. It’s just an honest description of the tradeoff.
The exact wait window shifts based on your grind and your beans. Lighter roasts settle faster than darker ones. Coarser grinds drop faster than finer ones. After 2 or 3 brews with your specific setup, you’ll stop watching the clock entirely. You’ll pour when the water above the settled grounds looks visually clean and clear — and you’ll know exactly what that looks like. That’s what makes the method endearing to us obsessive home brewers. It teaches you to watch the coffee, not the timer.