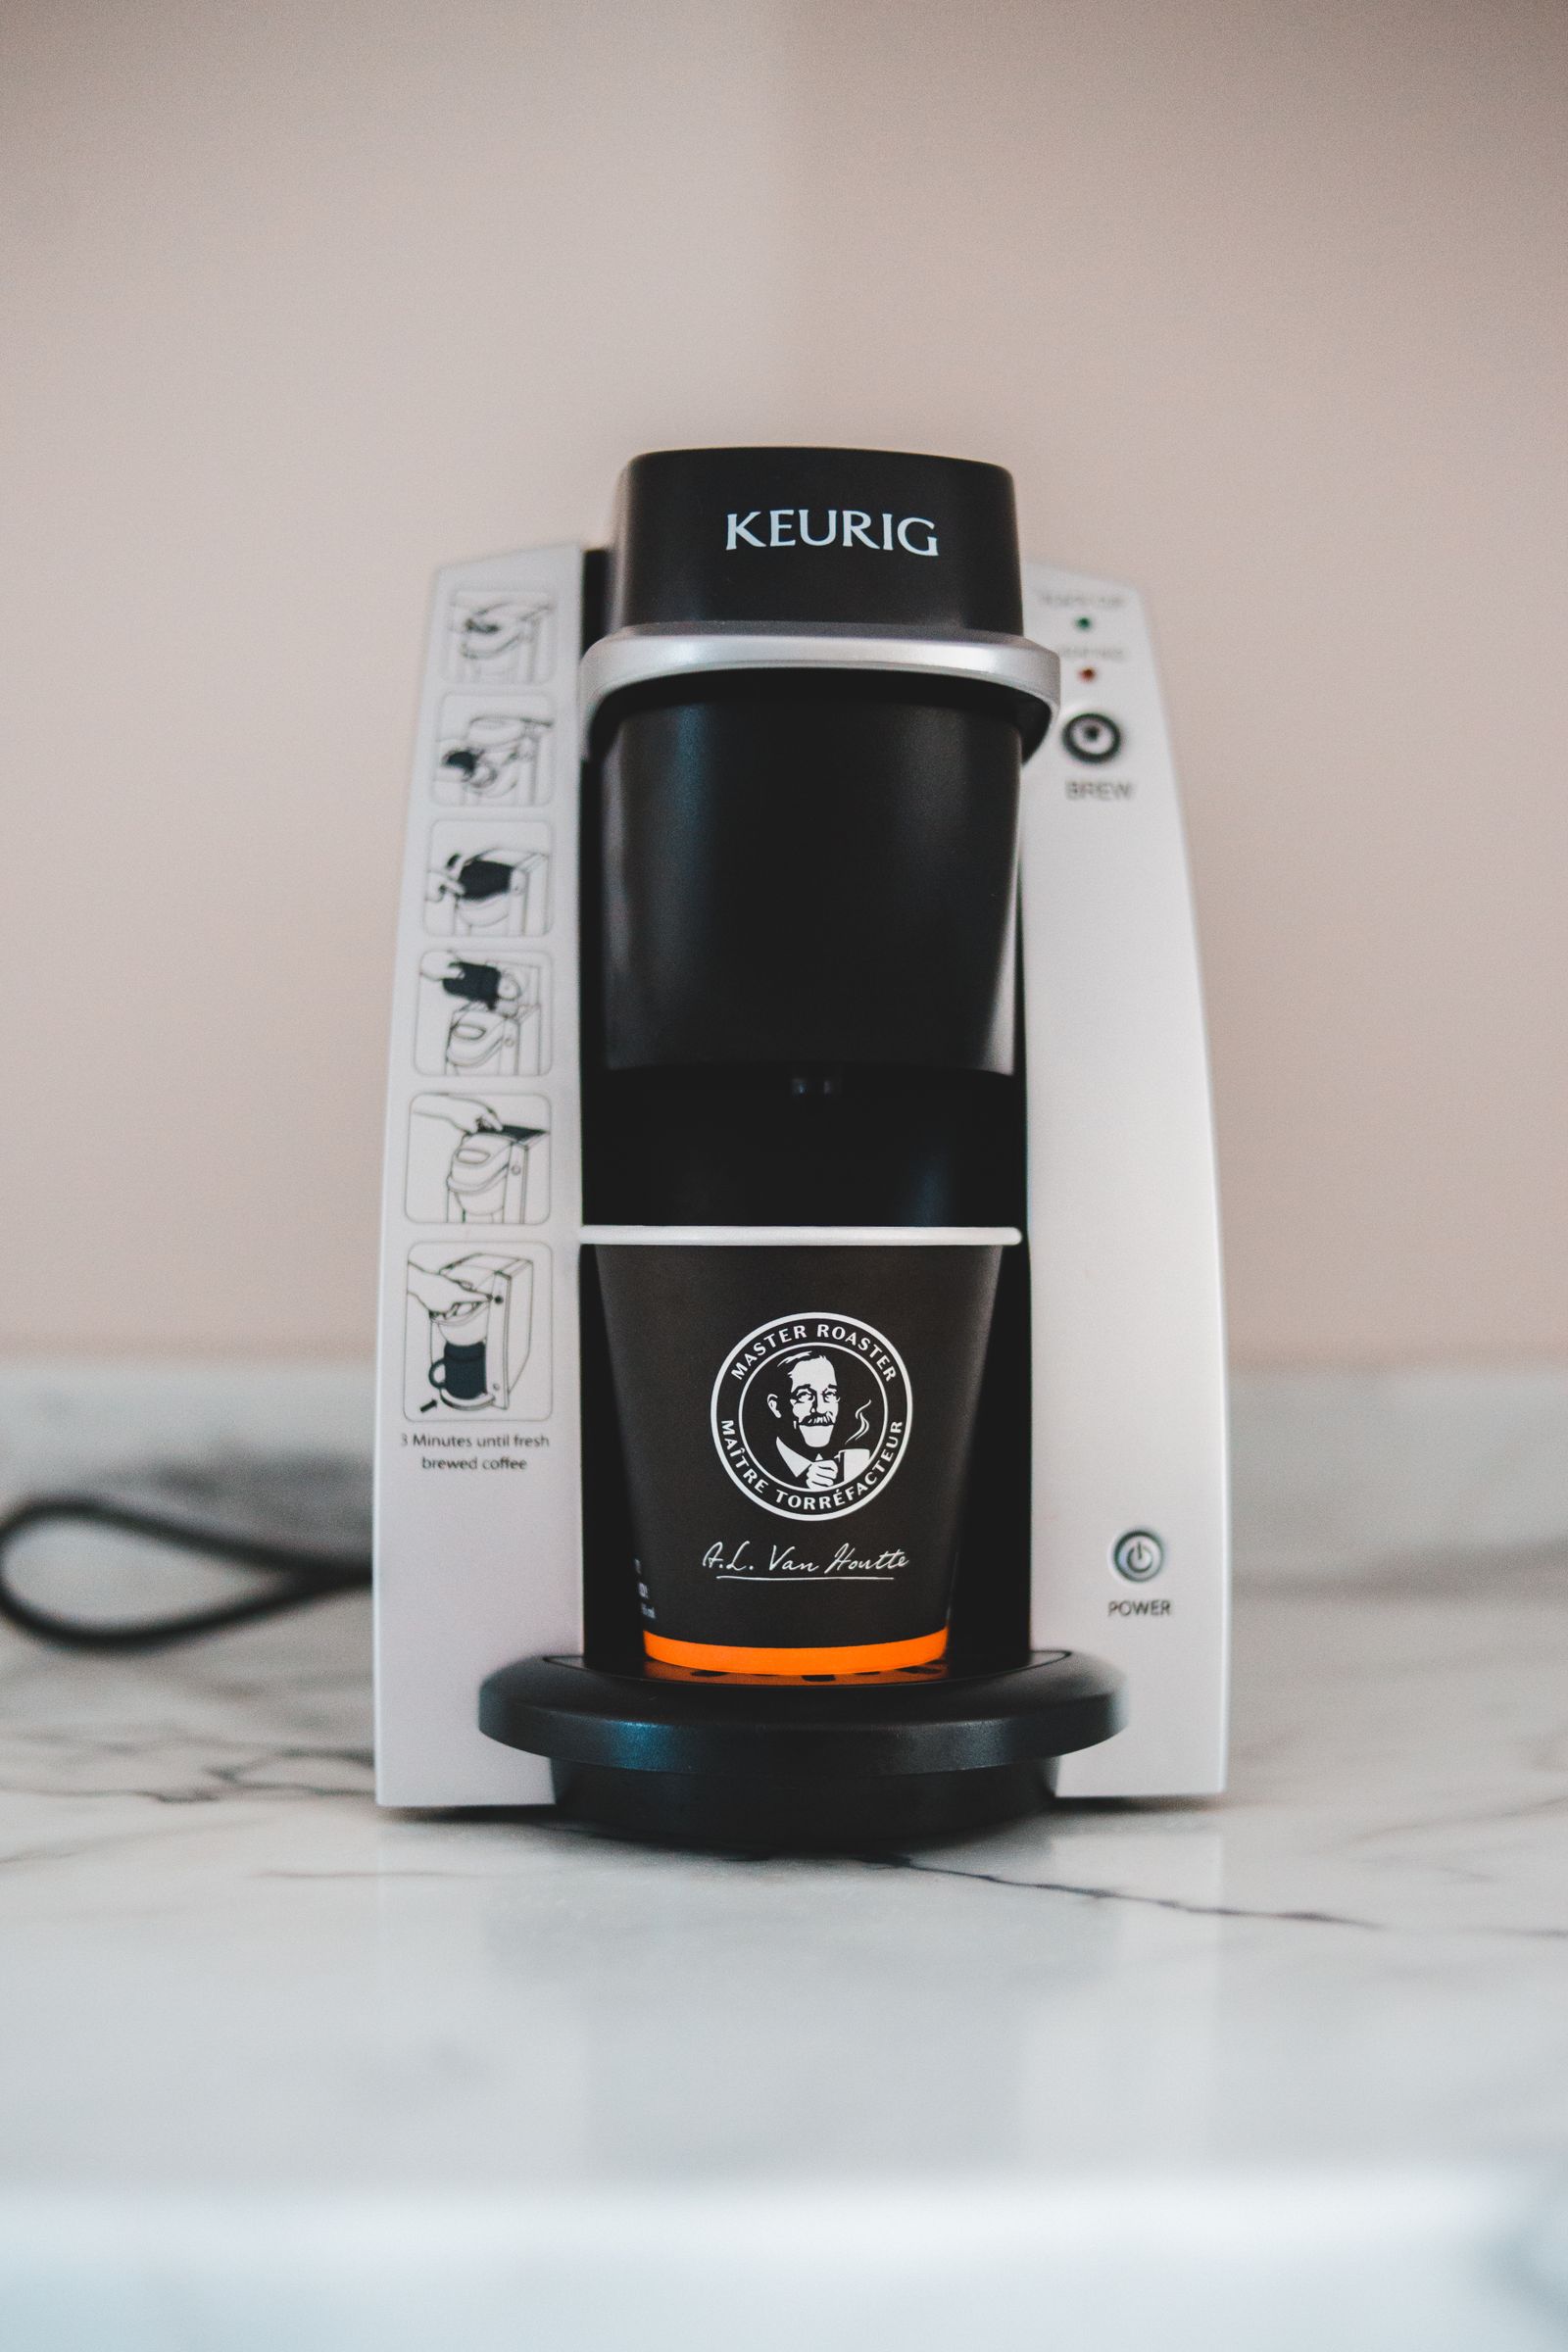
The photograph above shows a generic Keurig single-serve brewer by Erik Mclean/Pexels; the pictured model is not the K-Elite and does not show descaling.
Why Descaling Matters
Scale buildup can accumulate inside your Keurig K‑Elite over time. Regular descaling removes calcium deposits and keeps the machine’s internal plumbing clean, as recommended by Keurig.
Critical Clarification: Manual Three‑Phase Procedure
The K‑Elite does not have an electronic Descale Mode that is entered by holding down brew buttons. That button‑hold method applies only to newer models such as the K‑Express, K‑Supreme, K‑Slim, K‑Iced, and K‑Iced Plus. The K‑Elite, along with the K‑Classic, K‑Cafe, K‑Cafe Special Edition, K‑Compact, and K‑Select, uses the same three‑phase manual descaling procedure.
Materials Checklist
- One full bottle of Keurig Descaling Solution
- Fresh water
- Large ceramic mug (paper cups are not suitable)
- Optional: Keurig Water Filter cartridge (remove before starting)
Step‑by‑Step Procedure
Preparation
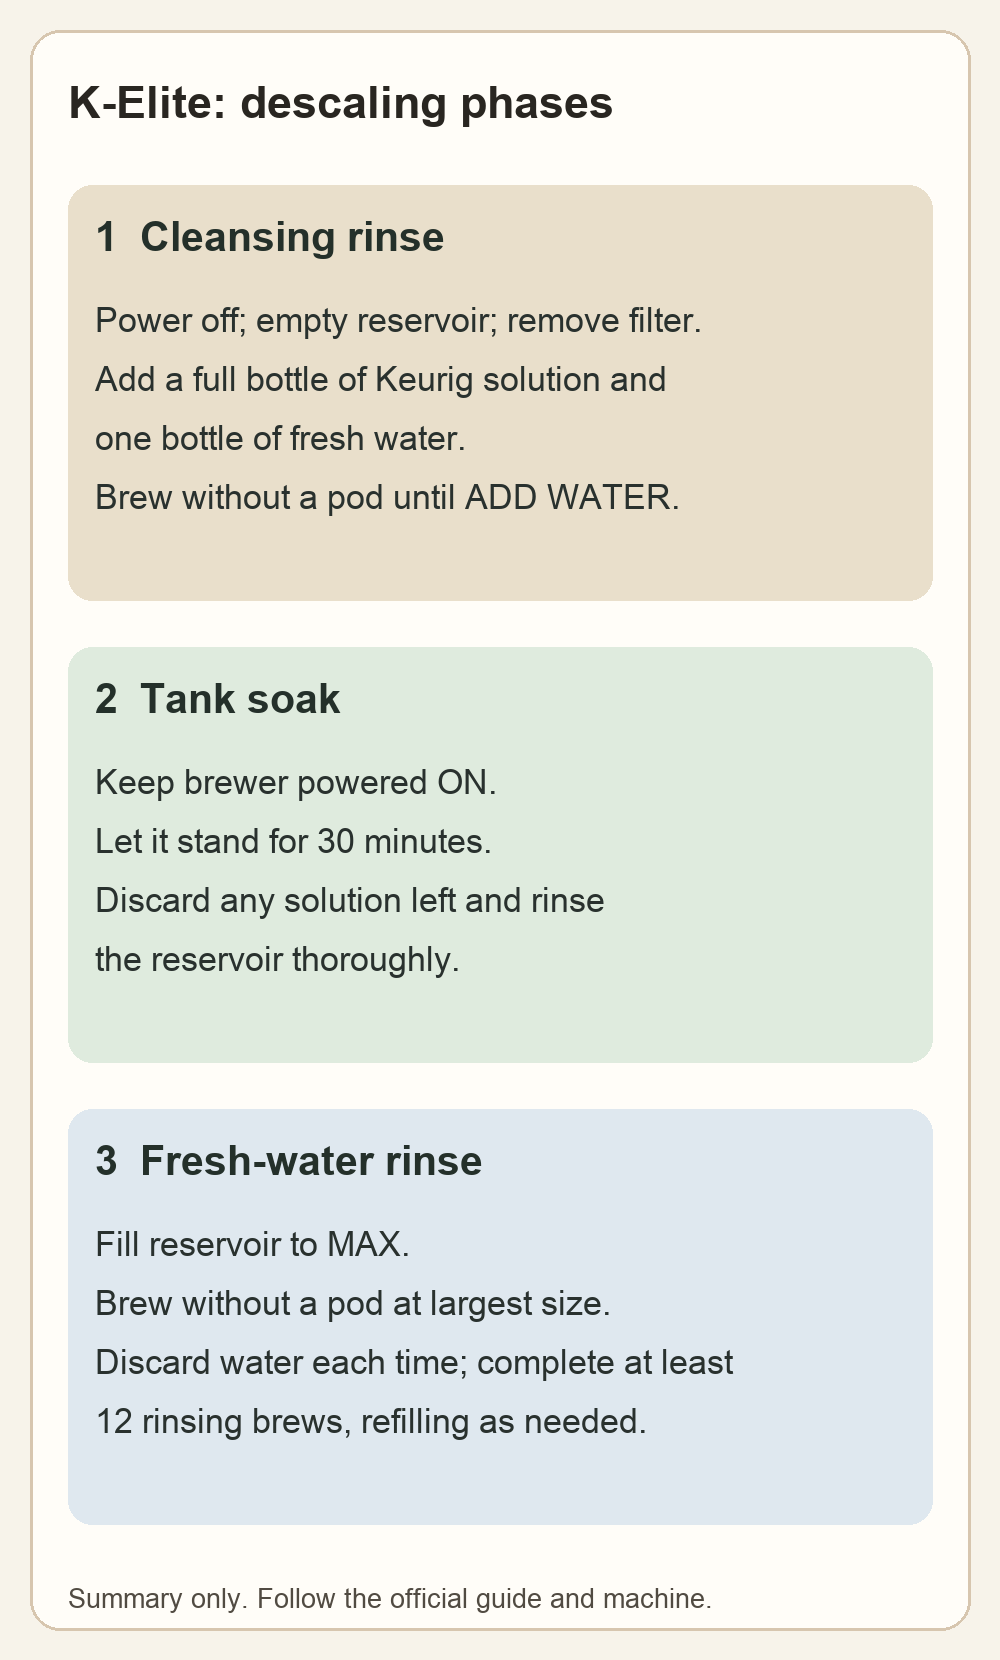
- Power the K‑Elite brewer OFF. Empty all water from the reservoir. Remove the Keurig Water Filter cartridge if one is installed. Gather the descaling solution, fresh water, and a large ceramic mug. Source
Phase 1 – Cleansing Rinse
- Pour the entire bottle of Keurig Descaling Solution into the water reservoir. Fill the now‑empty solution bottle with fresh water and pour that water into the reservoir as well. Source
- Power the brewer back ON. Place the large ceramic mug on the drip tray. Lift the brewer handle and lower it without inserting a K‑Cup pod. Select the largest brew size (12 oz on the K‑Elite). Press BREW. When the brew cycle completes, pour the mug contents into the sink. Source
- Repeat the rinsing brew (lift handle, no pod, 12 oz, brew, discard) until the ADD WATER indicator light illuminates. The number of brews required will vary based on your reservoir fill level. Source
Phase 2 – Internal Tank Soak
- When the ADD WATER light comes on, leave the brewer powered ON. Do NOT turn the brewer off. Allow the brewer to sit undisturbed for 30 minutes. This soak allows the descaling solution to work on internal scale buildup. Source
- After 30 minutes, discard any remaining descaling solution from the reservoir and rinse the reservoir thoroughly with fresh water. Source
Phase 3 – Fresh Water Rinse
- Fill the reservoir with fresh water to the MAX FILL line. Place the large ceramic mug on the drip tray. Lift and lower the handle without a K‑Cup pod. Select the largest brew size (12 oz). Press BREW. Discard the mug contents into the sink. Source
- Repeat the fresh‑water rinse brew step until you have completed at least 12 rinsing brews total, refilling the reservoir with fresh water as needed. This ensures all descaling solution residue is fully flushed from the internal system. Source
Completion
- Descaling is complete. Reinstall the Keurig Water Filter if desired. Resume normal brewing. Repeat the descaling procedure every 3 to 6 months, or when the brewer displays the “Time to descale the brewer!” reminder. The reminder re‑appears in 6 weeks if descaling is postponed and only clears once the brewer has actually been descaled. Source
Frequency and Reminder Guidance
Descale every 3 to 6 months to help prevent scale buildup. The brewer displays a “Time to descale the brewer!” reminder. If the user postpones descaling when prompted, the reminder returns in 6 weeks. The reminder only clears once the brewer has actually been descaled. Source
What to Avoid
- Do not try to enter a Descale Mode by holding brew buttons on the K‑Elite.
- Keurig references only Keurig Descaling Solution for this procedure; no other descaling agent is mentioned in the official instructions.
- Do not use a paper cup; a large ceramic mug is required.
- Do not turn the brewer off during the 30‑minute soak period.
Conclusion
Following the official Keurig three‑phase manual descaling routine completes the manufacturer‑recommended maintenance cycle. Prepare the right materials, follow each step in order, and descale on the recommended schedule.