Scale buildup in a Keurig K‑Classic’s internal water path can slow brew flow, lower temperature, and alter flavor. Keurig’s built‑in “Time to descale the brewer!” reminder tracks how much liquid has passed through and prompts you to clean the machine every 3 to 6 months. When you see the reminder, follow the official three‑phase manual procedure below.
What You’ll Need
- One full bottle of Keurig Descaling Solution (the entire bottle – not a partial amount or vinegar, per Keurig’s recommendation) – source
- Fresh water to refill the empty solution bottle – source
- A large ceramic mug (not a paper cup) – source
- Access to a sink – source
- About 45 minutes of time – source
Step‑by‑Step Descaling Procedure
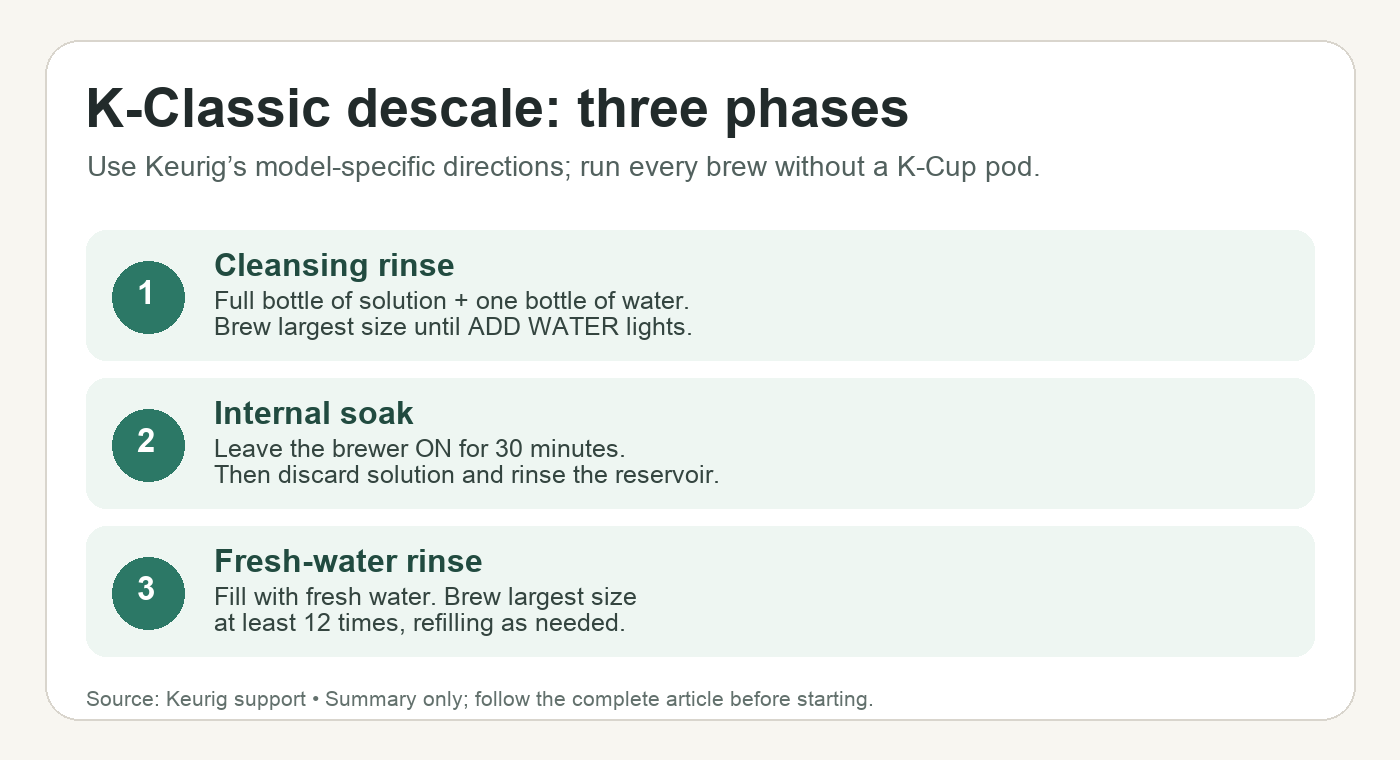
- Preparation: Empty all water from the reservoir. If a Keurig Water Filter is installed, remove it. Gather the items listed above. source
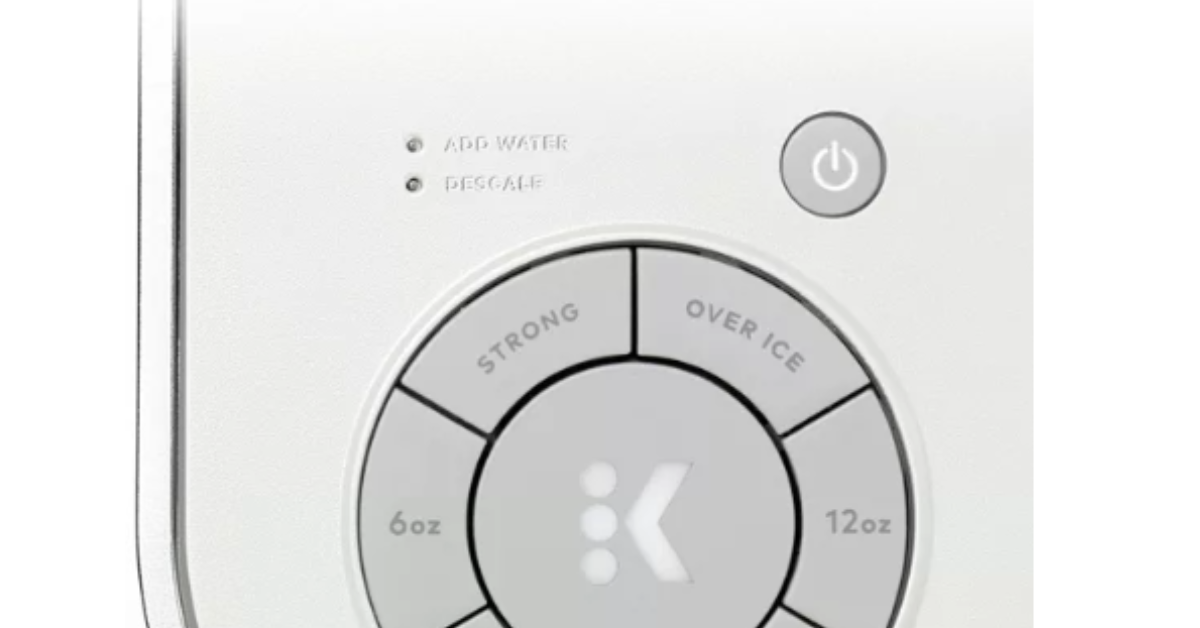
- Phase 1 – Cleansing Rinse, Step 1: Press the power button to turn the brewer OFF. source
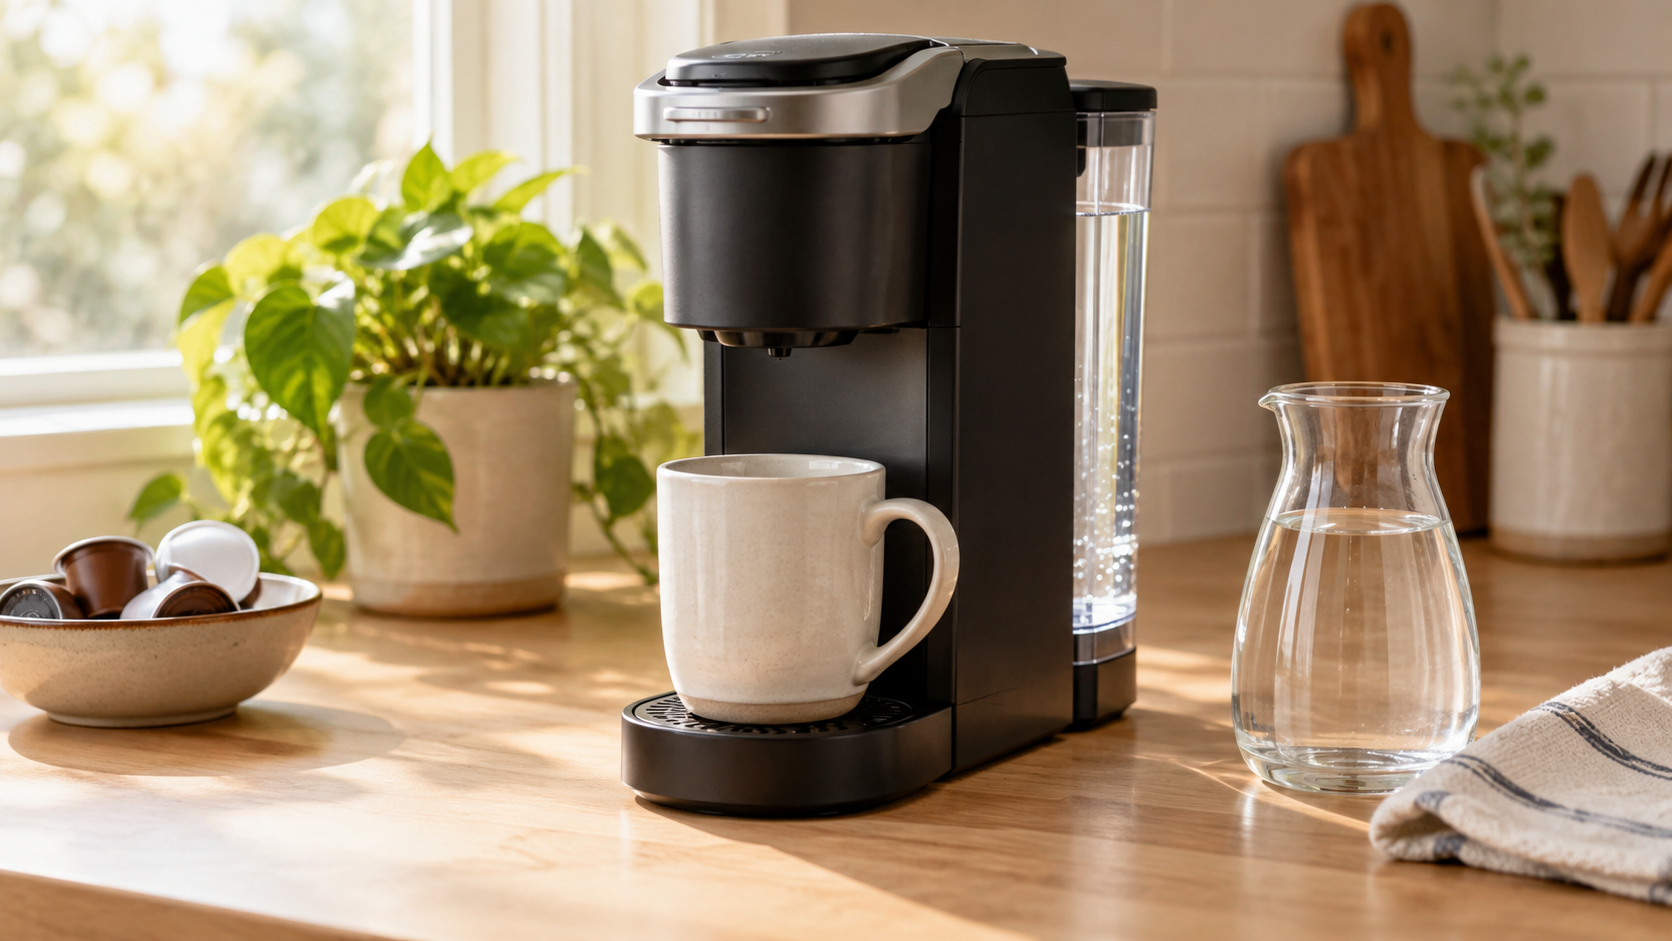
- Phase 1 – Cleansing Rinse, Step 2: Pour the entire bottle of Keurig Descaling Solution into the empty water reservoir. source
- Phase 1 – Cleansing Rinse, Step 3: Fill the now‑empty solution bottle with fresh water and pour that water into the reservoir. source
- Phase 1 – Cleansing Rinse, Step 4: Press the power button to turn the brewer back ON. source
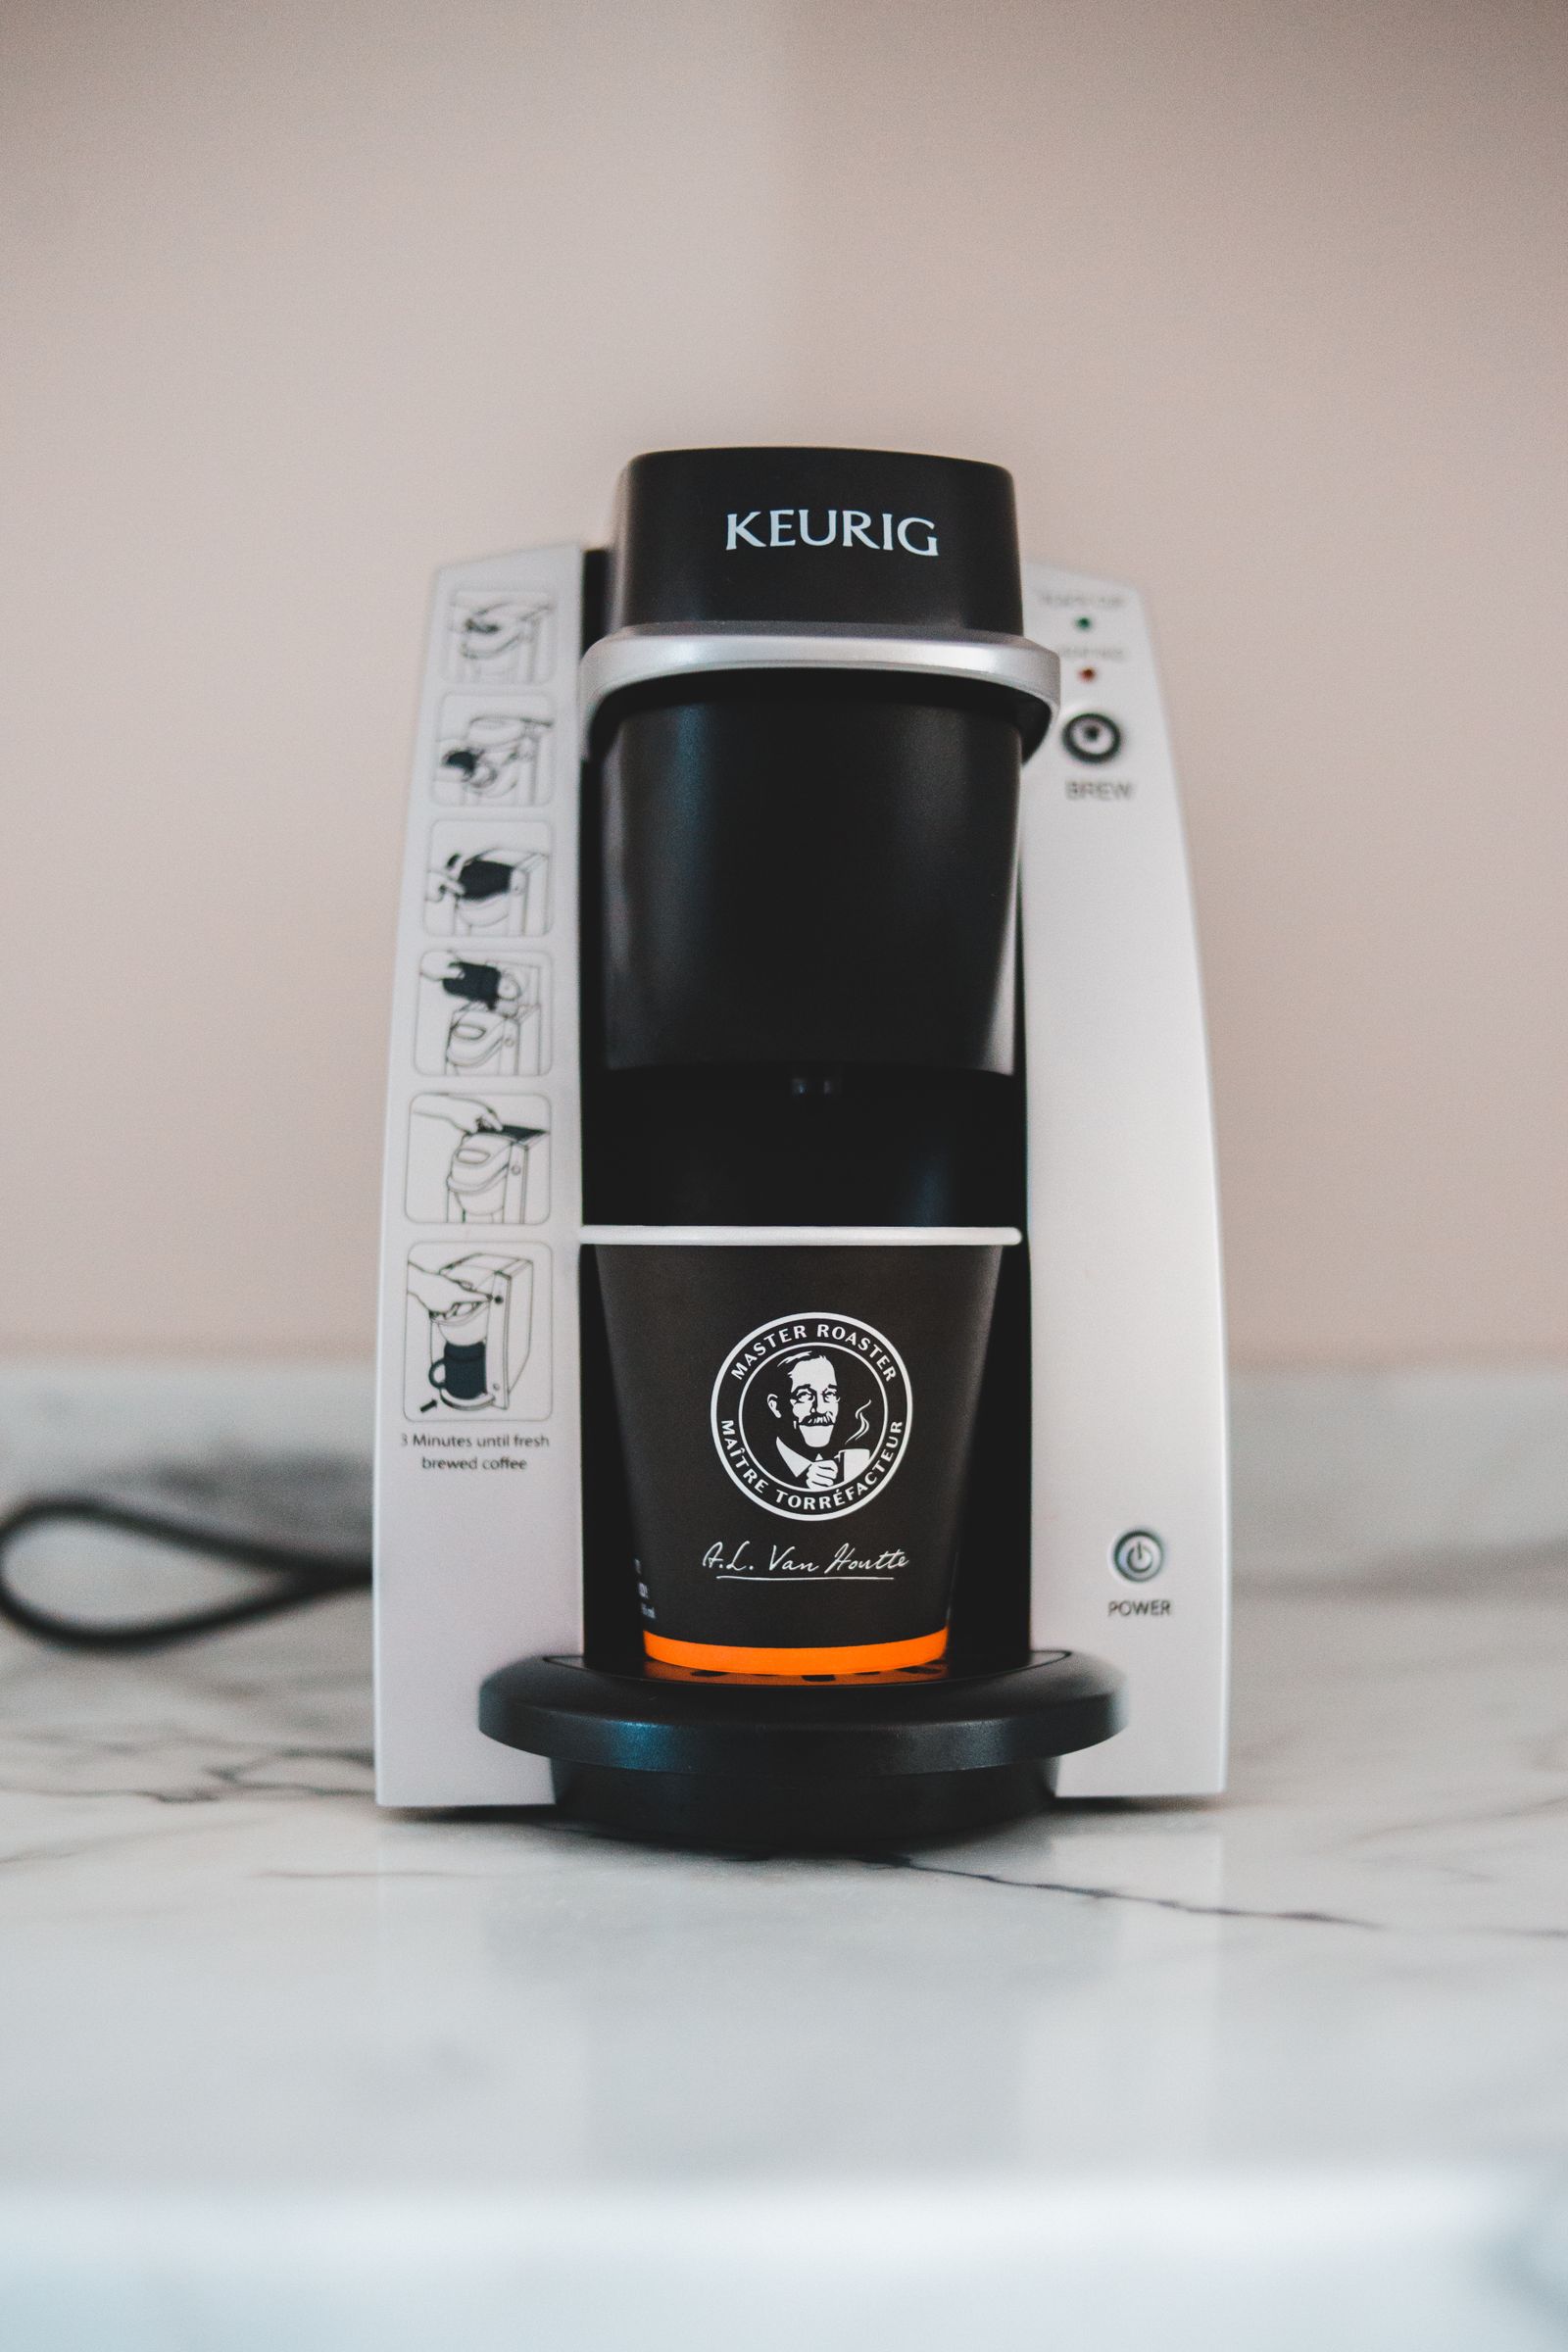
- Phase 1 – Cleansing Rinse, Step 5: Place a large ceramic mug on the drip tray. Lift and lower the brewer handle without inserting a K‑Cup pod. Select the largest brew size (Large Mug / 10 oz). Press the BREW button (if applicable). Pour the dispensed liquid into the sink. source
- Phase 1 – Cleansing Rinse, Step 6: Repeat the rinsing brew (step 5) until the ADD WATER light illuminates. source
- Phase 2 – Internal Tank Soak, Step 1: When the ADD WATER light illuminates, leave the brewer powered ON and let it stand for 30 minutes. source
- Phase 2 – Internal Tank Soak, Step 2: After 30 minutes, discard any residual solution from the reservoir. Rinse the water reservoir thoroughly. source
- Phase 3 – Fresh Water Rinse, Step 1: Fill the water reservoir with fresh water to the MAX FILL line. source
- Phase 3 – Fresh Water Rinse, Step 2: Place the large ceramic mug on the drip tray. Lift and lower the handle. Do NOT insert a K‑Cup pod. Select the largest brew size. Run a rinsing brew. Pour the mug’s contents into the sink. source
- Phase 3 – Fresh Water Rinse, Step 3: Repeat step 11 for at least 12 total rinsing brews on the largest brew size. Refill the water reservoir as needed during this step. source
When to Descale
According to Keurig’s FAQ, descaling every 3 to 6 months helps prevent scale buildup. The “Time to descale the brewer!” reminder appears when the system has processed enough liquid. If you postpone the procedure, the reminder will re‑prompt in 6 weeks. The reminder only disappears once the descaling steps are completed. source
Additional Maintenance Tips
- Clean the top and bottom needles with a paperclip if you notice slower brews or grounds in the cup – this is linked to partial brews or no brew. source
- Remove and clean the drip tray and pod holder regularly. source
- Rinse the water reservoir with warm, soapy water and let it air‑dry. source
- Wipe the exterior with a damp, non‑abrasive cloth. source
Model‑Specific Note
The K‑Mini and K‑Mini Plus use a different descaling procedure that requires only one‑third of a bottle (4.6 oz) of solution. Using the full bottle on those models is incorrect. source
Conclusion
Follow this step‑by‑step manual procedure to keep your Keurig K‑Classic free of scale and running at its best. All steps are taken directly from Keurig’s official support hub pages retrieved on 2026‑10‑04. No firsthand testing claims are made.