Updated July 2026: If your Keurig is making noise but not pumping or dispensing water, start with the reservoir, then clean the pod holder and needles, and only then run the descaling procedure for your exact model. Do not shake, strike, invert, or open the brewer.
Quick answer: A Keurig that will not draw water usually has an incorrectly seated reservoir, too little water, a clogged pod holder or needle, or mineral scale restricting flow. Remove the pod, fill and reseat the reservoir, run a water-only cleansing brew, clean the removable pod-holder parts and needles with the brewer unplugged, and follow your model’s official descaling instructions. If two correct descale cycles do not restore flow, contact Keurig rather than opening the housing.
First identify what your Keurig is doing
| Symptom | Most likely place to start |
|---|---|
| No water and an Add Water warning | Water level and reservoir seating |
| Pump noise but no water | Reservoir connection, then scale |
| Only a partial cup | Pod holder, exit needle, entrance needle, then descale |
| Water flows without a pod but not with one | Pod holder and needles |
| Brewer keeps pumping or dispensing | Power off, unplug, remove reservoir, and contact support if it repeats |
The controls and descale sequence vary across K-Mini, K-Express, K-Classic, K-Elite, K-Supreme, K-Café and other families. Use the guide for the model printed on your brewer; do not copy a button combination from a different model.
How to fix a Keurig that is not pumping water
1. Stop the brew and remove the pod
- Turn the brewer off and unplug it.
- Let it cool before touching the pod area or needles.
- Lift the handle and remove the K-Cup. Put a large ceramic mug on the tray for later rinse cycles.
Never put a finger near the water inlet during a powered brew. Do not turn the brewer upside down, hit it, force water through internal tubing, or remove housing screws. Current Keurig manuals describe these brewers as not user-serviceable beyond their listed cleaning and maintenance procedures.
2. Fill and reseat the reservoir
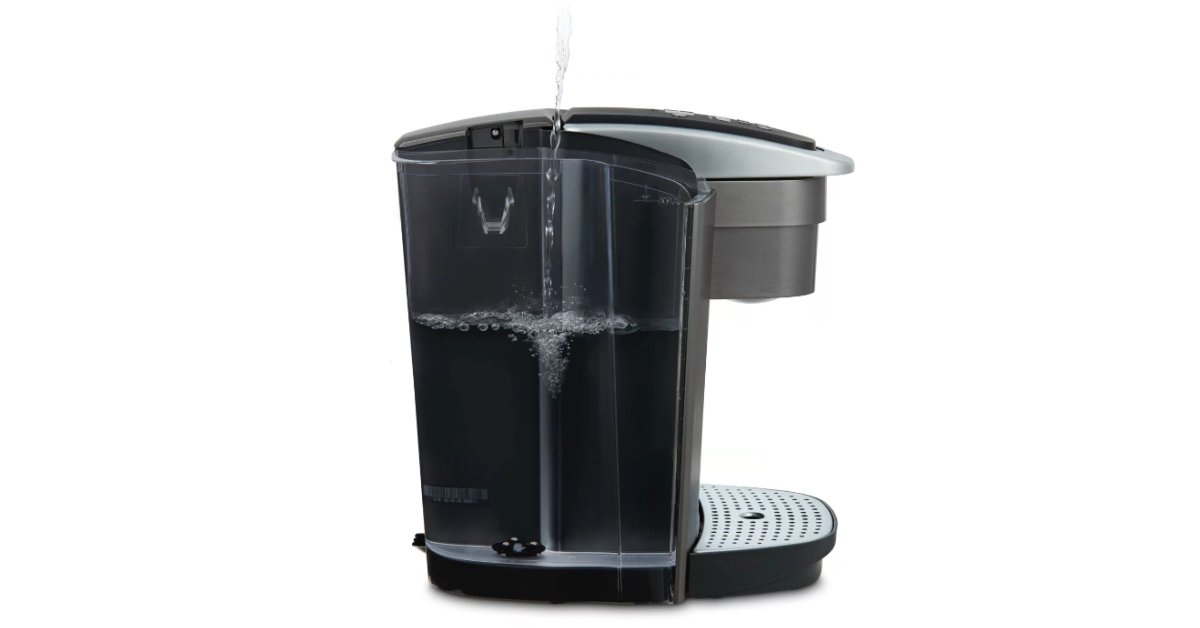
- Remove the reservoir and check that it has at least the model’s minimum amount of water. Many current models require at least 6 ounces; Keurig often advises adding another 2 ounces if the brewer does not begin dispensing.
- Wash the reservoir and lid with a damp, soapy, non-abrasive cloth, then rinse thoroughly. Do not dry the inside with a lint-producing towel.
- Inspect the reservoir’s removable valve area for visible debris, without dismantling the brewer.
- Return the reservoir squarely to its base so the connection seats fully.
Use fresh filtered or bottled water if your tap water has an obvious mineral or chlorine taste. Keurig’s current guides say not to use distilled water in many models. A one-cup-reservoir K-Mini works differently, so follow its model guide.
3. Try one water-only cleansing brew
With no pod installed, plug the brewer back in and run the largest normal water-only brew your model allows. If it dispenses normally, repeat once to flush loosened grounds. If it produces only a partial cup, continue to needle cleaning.
4. Clean the pod holder and exit needle
- Power off, unplug, and allow the brewer to cool.
- Remove the K-Cup pod holder according to your model’s guide. Keurig notes that the parts can be sharp.
- Separate only the removable pieces shown in the guide and rinse them with warm water.
- From the bottom of the holder, gently loosen grounds from the exit-needle tube with a straightened paper clip. Do not push from the top and do not use your finger.
- Rinse and reinstall the pod holder, aligning its tabs correctly.
5. Clean the entrance needle
With the brewer still unplugged and its handle raised, locate the entrance needle or needles under the brewer head. Following your model guide, carefully insert a straightened paper clip into each opening and move it gently to loosen grounds. Keep hands clear of the sharp points. Lower the handle, plug the brewer in, and run two water-only cleansing brews.
MultiStream models have several entrance needles. An older reusable filter may also be incompatible with them; check that any My K-Cup filter is the version specified for your brewer.
6. Descale using the instructions for your model
Scale can restrict the heater and internal water path even when the outside looks clean. Follow Keurig’s current model-specific descaling procedure or the use-and-care guide that came with your brewer. Some models enter a dedicated Descale Mode through a particular button combination; others use a different sequence.
Use the amount of solution, rest period, rinse volume and button sequence specified for the model. Do not soak the reservoir in descaling solution unless that guide explicitly says to do so, and rinse the reservoir thoroughly before fresh-water cycles. If a heavily scaled brewer produces little or no output during descaling, switch it off, unplug it, discard the solution, rinse the reservoir and follow the recovery steps in the official guide.
For the K-Supreme family, see our Keurig Supreme descaling walkthrough. For broader error-code help, use our Keurig troubleshooting guide.
What if the Keurig will not stop pumping water?
If water continues to dispense unexpectedly, turn the brewer off, unplug it, remove the reservoir if it is safe to do so, and let the unit cool. Clean and reseat the reservoir, then test one supervised water-only cycle. If uncontrolled dispensing returns, stop using the machine and contact Keurig. Do not leave it powered unattended or try to repair an internal valve or control board yourself.
When to stop troubleshooting
- The brewer leaks from its housing, smells hot, trips a breaker, or shows damaged wiring.
- The pump still produces no water after reservoir checks, needle cleaning and the correct descale procedure.
- You have repeated the official descale procedure twice and still get only a partial cup.
- The brewer dispenses without stopping or behaves unpredictably.
Keurig’s current consumer guides direct owners to Customer Service at 1-866-901-BREW (2739) when normal cleaning and descaling do not solve the problem. Have the model and serial number ready, and check warranty coverage before replacing anything.
Frequently asked questions
Why is my Keurig making noise but not sucking water?
The pump can run without moving water when the reservoir is not seated, its connection is blocked, the water level is too low, or scale restricts the internal path. Start with the reservoir and a cleansing brew; then clean the pod holder and needles before descaling.
Why does my Keurig dispense only a little water?
A partial cup most often points to grounds in the exit or entrance needles, a dirty pod holder, or scale. Keurig’s manuals list those checks in that order and recommend support if two correct descale cycles do not restore a full cup.
Should I shake or slap a Keurig to clear an air lock?
No. That advice is not part of Keurig’s current care procedures and can spill retained hot water or damage the brewer. Keep it upright and use the documented reservoir, cleansing, needle-cleaning and descaling steps.
Can I open the Keurig and replace the pump?
Keurig describes current consumer brewers as not user-serviceable beyond recommended cleaning and maintenance. Opening the powered-water appliance creates shock, burn and warranty risks. Contact support for internal pump, valve or electronics problems.
Bottom line
Work from the easiest safe cause to the harder one: water level, reservoir seating, cleansing brew, pod holder, needles, then a model-specific descale. This order covers the main reasons a Keurig will not pump, suck or dispense water without introducing unsafe shortcuts.