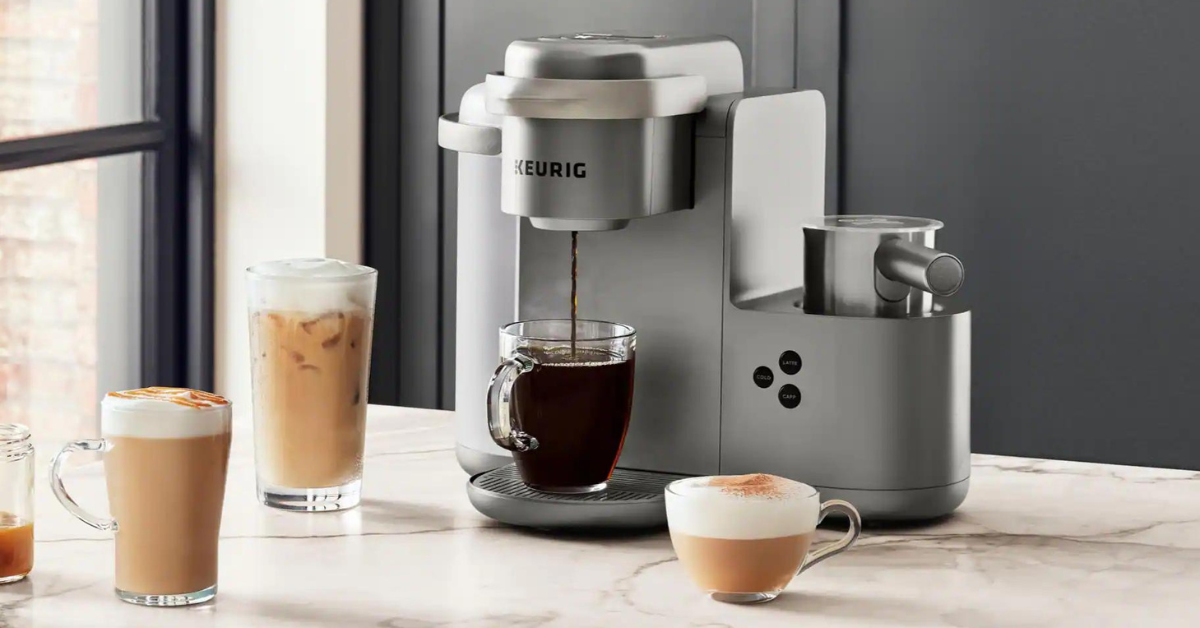
To use a Keurig, fill the reservoir with fresh water, place a mug under the outlet, insert an unopened K-Cup with its foil lid facing up, close the handle, choose a cup size, and press Brew. Wait until brewing stops before lifting the handle and removing the hot pod.
Controls differ across the K-Mini, K-Express, K-Classic, K-Supreme, K-Elite, K-Café, and SMART families. The basic sequence is the same, but button order, reservoir design, reusable-filter compatibility, and cleaning cycles are model-specific. Use the model number on the brewer—not its color or appearance—to find the correct manual.
How to Use a Keurig in 6 Steps
- Add water. Fill a removable reservoir to or below its MAX line. On a K-Mini-style brewer, add only the amount needed for that cup according to its markings.
- Place the mug. Center a mug large enough for the selected brew size. Remove the drip tray only when the manual permits it for a taller travel mug.
- Insert one K-Cup. Lift the handle and place the pod in the holder with the foil intact and facing up. Do not peel or pre-puncture it unless your model’s high-altitude instructions explicitly say to puncture the bottom.
- Close the handle completely. The brewer’s needles pierce the pod. Keep fingers out of the pod holder because the needles are sharp.
- Select settings. Choose the brew size and any Strong or Over Ice option available on your model, then press the illuminated Brew or K button if required.
- Wait for completion. Hot water remains in the pod holder during brewing. Do not lift the handle until the lights indicate the cycle is finished, then discard the used pod carefully.
First-Time Keurig Setup
1. Unpack and position the brewer
Remove packing material and place the brewer on a stable, level surface near a grounded outlet. Leave enough clearance to raise the handle and remove the reservoir. Do not use an extension cord unless the product manual specifically permits one.
2. Rinse and fill the reservoir
Wash or rinse removable parts exactly as your model manual instructs, then fill the reservoir to the MAX line with fresh water. Many current Keurig manuals say not to use distilled water because sensors may not operate correctly. Water recommendations can vary by brewer, so follow the manual for your exact model.
3. Install the optional water filter
If your brewer includes a compatible charcoal-filter holder, prepare and install the cartridge using the filter-kit directions. K-Mini models generally do not use the reservoir filter assembly. A charcoal filter improves some tastes and odors; it does not replace descaling.
4. Run a cleansing brew without a pod
Place a large mug on the drip tray. Lift and lower the handle without inserting a K-Cup, then run the model’s recommended cleansing cycle—commonly an 8-ounce hot-water brew. Discard that water. The exact buttons differ: for example, current K-Supreme guidance uses the 8 oz selection and Brew button, while K-Elite instructions use Hot Water followed by 8 oz.
For model-specific setup, consult Keurig’s official support center. Our separate guide covers how to use a Keurig Mini.
What the Keurig Buttons Do
| Control | What it changes |
|---|---|
| Cup size | Changes water volume. A smaller size usually tastes stronger because the pod contains the same coffee. |
| Strong | Slows or changes the brew cycle to increase extraction and perceived strength; it does not add coffee. |
| Over Ice / Iced | Brews a concentrated hot cycle intended to be dispensed over a cup already filled with ice. It does not make coffee cold inside the brewer. |
| Temperature | Available only on some models, such as K-Elite; adjusts the set brew temperature within the model’s range. |
| Hot Water | Dispenses hot water without a pod on compatible models. |
| High Altitude | Changes operation for elevations specified by the manual; some older models instead provide manual pod-puncture directions. |
Read our detailed explanation of what the Keurig Strong button does. If your coffee tastes watery, start with a smaller cup size or Strong rather than brewing the same pod twice.
How Much Water Should You Add?
Reservoir models can be filled to the MAX line; the machine meters the selected serving. You do not need an invented “two extra ounces” rule. Add-water behavior and minimum levels differ by model.
Single-cup reservoir models such as K-Mini use the water you pour in for that brew, within their labeled range. Never exceed a reservoir’s MAX line, and choose a mug with enough capacity to prevent overflow.
Using Ground Coffee in a Keurig
Use only the reusable filter Keurig lists as compatible with your exact brewer. K-Supreme manuals, for example, warn against older reusable-filter versions. Do not pour loose grounds directly into the pod holder.
Follow the filter’s fill line and grind guidance, then insert it using the required holder configuration. Our complete instructions explain how to use ground coffee in a Keurig.
How to Make Iced Coffee
- Fill a large cup with ice. Use plastic if your manual specifies it; the K-Elite guide warns against glass for its iced cycle.
- Insert a fresh K-Cup and close the handle.
- Select Over Ice or Iced if available. Otherwise choose a small, strong brew size.
- Brew over the ice and stir. Expect some melting because the coffee is dispensed hot.
Daily Cleaning and Descaling
| Task | When |
|---|---|
| Remove used pod and empty drip tray | After use or as needed |
| Wash reservoir, lid, drip tray, and pod holder | On the model-specific schedule and by the approved method |
| Clean entrance and exit needles | When flow slows or grounds appear; unplug first and follow the manual |
| Replace charcoal filter | Per the filter kit or brewer reminder |
| Descale | When the brewer indicates, or on the schedule in its manual—often about every three months |
Do not assume every removable part is dishwasher-safe—or that none are. That varies by model and component. Unplug the brewer and allow it to cool before cleaning. Use Keurig’s model-specific descaling procedure and approved solution; unnecessary repeated descaling is not automatically beneficial.
Important Keurig Safety Rules
- Put only water in the water reservoir. Milk, juice, creamer, and other liquids can damage or contaminate the internal system.
- Never place fingers inside the K-Cup holder; it contains sharp needles.
- Do not lift the handle during brewing because the holder contains very hot water.
- Keep the brewer level and do not overfill the reservoir.
- Use a cup large enough for the selected volume, especially when brewing over ice.
- Do not reuse a K-Cup. A second brew is weak and a previously punctured pod can behave unpredictably; use a fresh pod or compatible reusable filter.
Quick Troubleshooting
| Problem | First check |
|---|---|
| Nothing happens | Grounded outlet, power state, handle fully closed, reservoir seated |
| Add Water stays on | Water level and reservoir seating; do not bypass the sensor |
| Slow or partial brew | Needle cleaning and descaling status |
| Grounds in cup | Damaged pod, clogged exit needle, or overfilled reusable filter |
| Weak coffee | Smaller brew size, Strong setting, fresh pod |
| Descale light remains on | Complete the exact model’s full descale and rinse sequence |
If those checks do not solve it, use our Keurig troubleshooting guide or the exact manufacturer manual. Do not disassemble a brewer that is hot, plugged in, or under warranty.