Breville espresso troubleshooting has gotten complicated with all the conflicting advice flying around online. As someone who’s owned a Barista Express BES870XL for going on four years now — and helped two friends fix theirs — I’ve learned pretty much everything there is to know about why these machines stop pulling shots. Today, I’ll share it all with you.
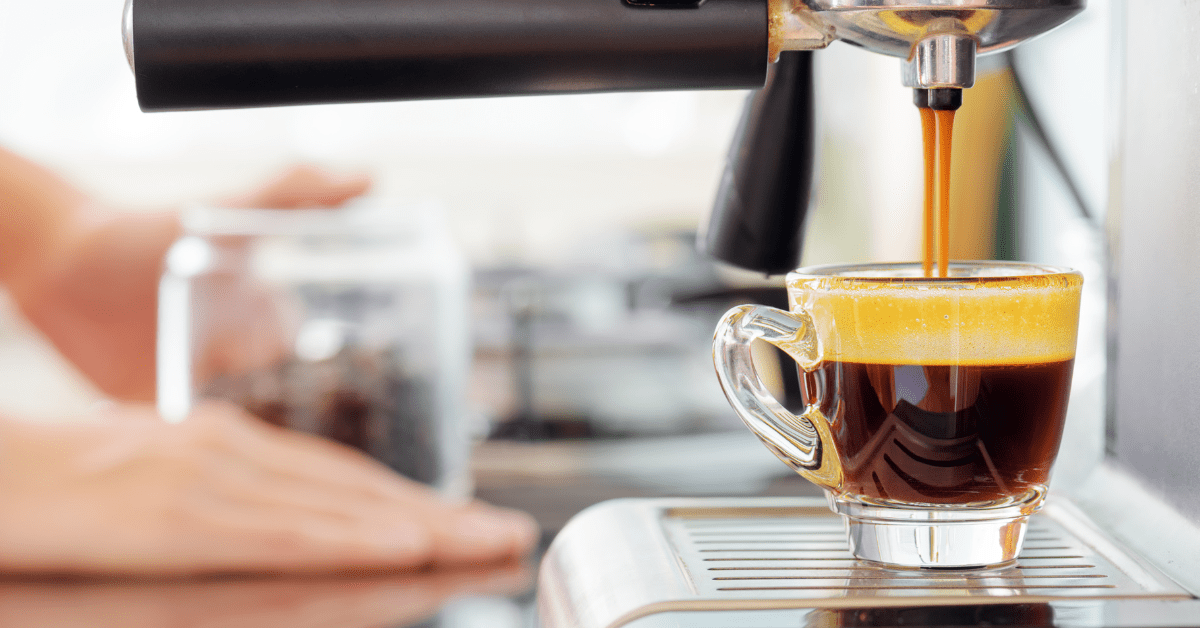
Here’s the deal. You press the button, the pump kicks on, and… nothing. Or worse, you get this sad, sputtering trickle that takes nearly a minute to fill half a shot glass with something that tastes like burnt dirt. I’ve been there. More times than I’d care to admit, honestly.
Probably should have led with this: the fix is almost always something you can do at home in under ten minutes. I’ve lined up seven solutions below from most likely to least likely. Work through them in order and you’ll be back to pulling decent shots fast.
This covers the Barista Express (BES870XL, BES870BSS), Barista Express Impress (BES878), Barista Pro (BES878BSS), Barista Touch (BES880), Bambino (BES450), Bambino Plus (BES500), Infuser (BES840), and the Dual Boiler (BES920).
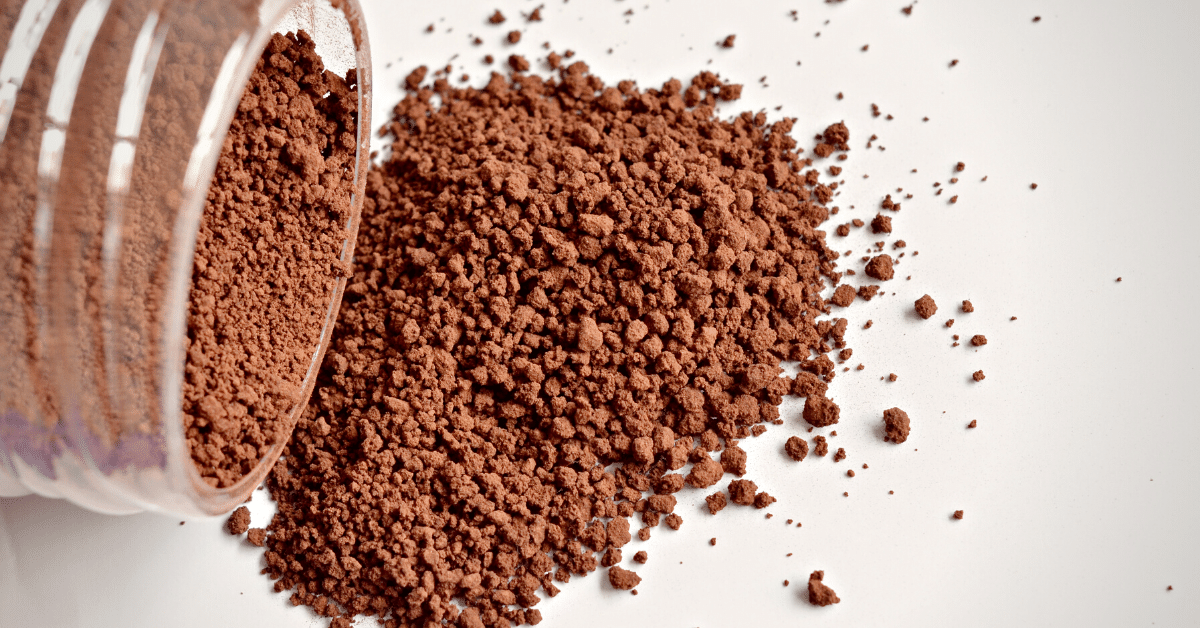
1. Your Grind Is Too Fine
Seven times out of ten, this is it. That’s it. Grind too fine, puck too dense, water can’t get through — even at 9 bars. You end up with zero flow or a painfully slow drip of over-extracted, bitter espresso that nobody wants to drink.
How to Diagnose
If your machine has a pressure gauge (Barista Express, Barista Pro), watch the needle while it’s brewing. Needle pegged all the way right, past the “Espresso Range” into over-pressure territory? Yeah, your grind’s too fine. On machines without a gauge — like the Bambino — the giveaway is the pump sounding like it’s straining hard but producing nothing.
The Fix
On the Barista Express built-in grinder, bump the outer dial 2-3 settings coarser. So if you’re sitting at 5, try 8. Still choking? Go to 10 or 12. What you’re after is that honey-like stream starting around 8-10 seconds after you hit brew.
Running an external grinder with a Bambino, Infuser, or Dual Boiler? Same idea — 2 to 3 steps coarser.
One thing that bit me early on: switching beans almost always means re-dialing your grind. I had a bag of light roast Ethiopian dialed in perfectly at setting 6. Swapped to a dark Italian blend and it choked the machine completely. Ended up at setting 10 before things flowed again. Different origins, roast levels, freshness — they all change what the grinder needs to do.
The Internal Burr Adjustment (Barista Express Only)
Most owners don’t even know this exists. There’s a hidden internal ring inside the grinder that shifts the entire grind range. To get at it, turn the hopper to unlock, lift it off. You’ll see a numbered ring from 1 to 10. If you’ve maxed out the external dial and it’s still too fine, crank this internal ring to a higher number. That shifts everything coarser. Pop the hopper back on, start the external dial in the middle, and work from there.
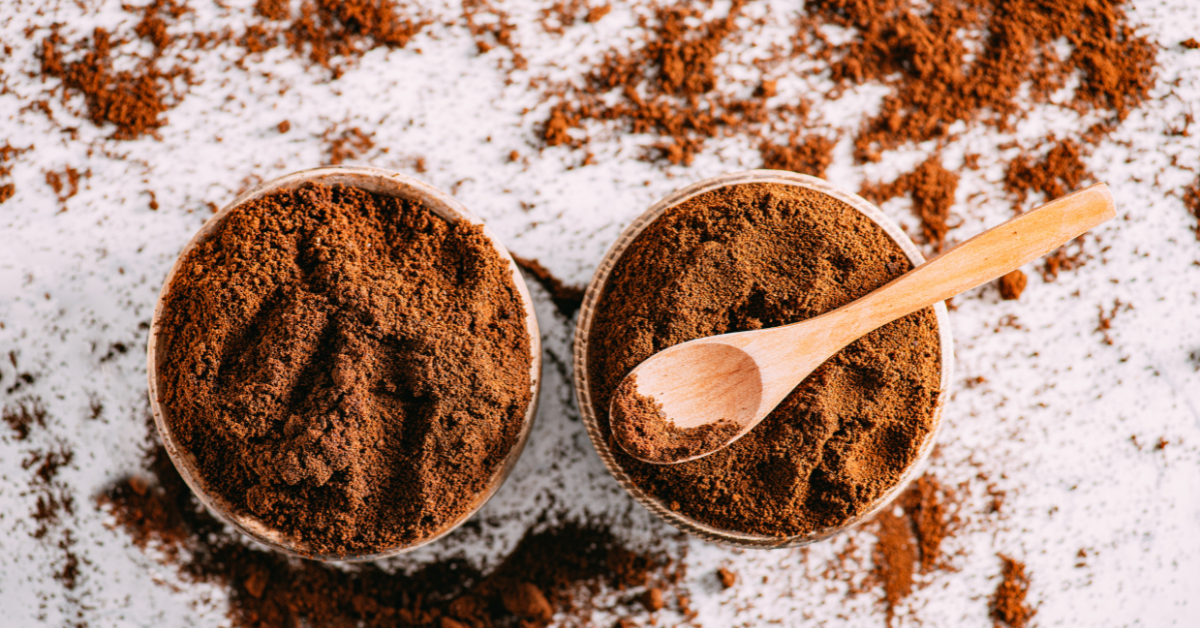
2. Puck Prep Problems (Dose, Distribution, and Tamp)
Even with the grind dialed in, sloppy puck prep will wreck your shots. This is the second biggest culprit in my experience — and it’s the one people overlook because it feels like a minor detail.
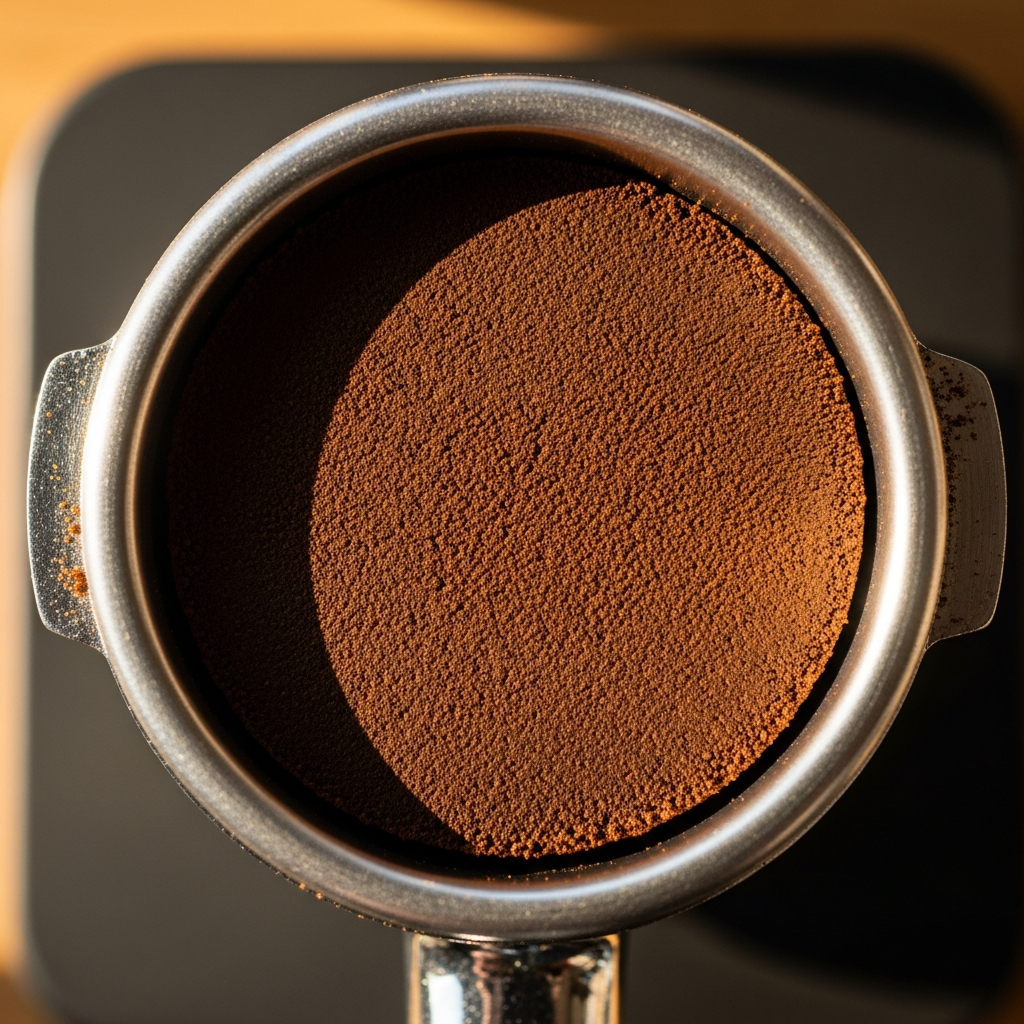
Dose
The 54mm double basket on Breville machines is built for 18-19 grams. I see people cramming 21 or 22 grams in there and wondering why nothing comes out. An overstuffed basket means zero headspace between the puck and shower screen. Water pressure builds up with nowhere to go. Get a kitchen scale — even a $10 one — and weigh your dose. Start at 18g.
Distribution
After grinding into the portafilter, the grounds usually pile up in the center or lean to one side. Tamp on that uneven pile and you’ve got dense spots and sparse spots. Water takes the easy route through the sparse zones (that’s channeling), while the dense zones block flow completely.
What fixed this for me: WDT — the Weiss Distribution Technique. Grab a few thin needles or straighten out a paperclip, stir the loose grounds in the basket, break up clumps especially near the edges, then shake the portafilter gently side to side to level everything out. Now tamp. This one step improved my shots more than anything else I’ve tried. Not even close.
Tamp Pressure
About 30 pounds, straight down. Too light and water blasts through. Too hard on a fine grind and you’ve built an impenetrable wall. The big thing is keeping it level — an angled tamp is basically a channeling guarantee. If you’ve got the BES878 Impress, the assisted tamping handles this automatically, which is honestly one of its best features.
3. Portafilter Not Locked In Properly
Sounds basic. It’s not. This catches experienced users all the time.
If the portafilter isn’t fully locked into the group head, the seal is incomplete. Water sprays out the sides instead of going through the puck. Weak extraction, puddles on the counter, the whole mess.
The Fix
It should lock firm at roughly 6 o’clock — pointing straight at you. If it won’t tighten that far or feels wobbly even when turned all the way, your group head gasket is worn out. These things are consumable. Replace them every 12-18 months with regular use.
Replacement gaskets (part BES860/08.9) run about $8-12. I’ve switched to aftermarket silicone gaskets — they outlast the stock EPDM rubber ones and hold a better seal over time. Swap is easy: unscrew the shower screen, pry out the old gasket with a flathead or butter knife, press the new one in.
Also — and I learned this the annoying way — check that there aren’t stray grounds on the portafilter rim or gasket surface. Even a few loose grounds can break the seal enough to cause leaking and kill your pressure.
4. Brew Pressure Too Low (Pump Issues)
Grind’s right, puck prep’s solid, but the gauge barely budges and water just dribbles through? The pump might not be generating enough pressure. On the Barista Express gauge, you’ll see the needle stuck in that left “under-pressure” zone the whole time.
The Fix
Descale first. Scale buildup in the pump, check valve, or lines is the #1 reason for low pressure. A pump fighting through narrowed, mineral-clogged pathways will underperform without sounding obviously broken. Run a full descale cycle. Our Breville descaling guide walks through it for every model.
Check the water tank. If it’s not fully seated on the valve mechanism, the pump can’t draw water. Pull the tank out, make sure the rubber valve seal on the bottom is clean and in good shape, then seat it firmly.
Prime the pump. Machine been sitting idle a while, or you just finished descaling? Air gets trapped. Run a few cycles of hot water — no coffee, no portafilter — until the flow runs steady without sputtering.
Pump motor dying. If descaling and priming don’t help, the ulka vibration pump might be on its way out. They typically last 5-7 years with regular use. A new ulka pump (model E5/E6) runs $20-40 and you can replace it yourself by removing the bottom panel. YouTube has walkthroughs for specific models. Under warranty? Breville replaces it free.
5. Solenoid Valve Stuck Closed
The solenoid (or 3-way valve) does two things: directs water through the puck during brewing, and releases pressure from the portafilter afterward — that hissing sound you hear when the shot finishes. If it’s stuck closed, water can’t reach the coffee at all.
How to Diagnose
Pump sounds normal, but zero water from the group head. Not even with the portafilter removed. If you pull the portafilter off, hit brew, and get nothing — not a drop — the solenoid is almost certainly stuck or blocked.
The Fix
Backflush it. Pop in the rubber cleaning disc with a cleaning tablet (Breville BEC250). Lock the portafilter in, start a brew — pressure forces water backward through the solenoid. Do 5-6 cycles, 10 seconds on, 10 seconds off.
Descale. Scale is the #1 cause of stuck solenoids. A good descale can dissolve the mineral deposits holding the valve shut.
Manual cleaning. If backflushing and descaling both fail, you’ll need to pull the solenoid out and clean it by hand. That means opening the top of the machine (4-6 screws depending on model), disconnecting the solenoid from its electrical connector and water lines, and soaking it overnight in descaling solution or citric acid. Put it back together and test. It’s more involved but totally doable with basic tools and some patience.
6. Group Head Clogged
The group head is where water exits the machine into the portafilter. It’s got three parts: the shower screen (metal disc with small holes), a rubber gasket, and a dispersion block behind the screen. All three get gunked up with coffee oils, old grounds, and mineral deposits over time.
How to Diagnose
Pull the portafilter off and look up. Dark, oily buildup on the shower screen? Grounds packed into the holes? That’s your problem right there. Run water without the portafilter — if it comes out uneven, stronger on one side than the other, the screen or dispersion block is partially clogged.
The Fix
Remove the shower screen. Phillips head screwdriver, one center screw. Pull the screen down. Prepare yourself — there’s usually a thick layer of dark, nasty coffee residue on the back of the screen and on the dispersion block above it.
Soak everything. Drop the screen and screw into a bowl of hot water with a teaspoon of Cafiza, Urnex, or whatever espresso machine cleaner you’ve got. Let it sit 15-20 minutes. Scrub with a toothbrush. Use a toothpick or needle to clear each hole in the screen individually if needed.
Scrub the dispersion block. With the screen off, get a wet brush up there on the exposed aluminum piece. Don’t use soap directly inside the machine — water and a brush work fine.
Put it back together and test. Replace the screen and screw, run a blank water shot to flush, pull an espresso. You should see even, consistent water distribution across the whole puck.
Going forward: Clean the shower screen monthly. After every shot, hit the brew button for 2-3 seconds with no portafilter to flush loose grounds. Five seconds of effort. Prevents 90% of group head clogs. I do this religiously now and haven’t had a clog in over a year.
7. Pump Motor Failing
If you’ve worked through everything above and shots still won’t pull right, the pump motor itself might be going. Least common cause on this list — but after 5+ years of daily use, it happens.
How to Diagnose
A dying pump sounds different. Instead of a smooth vibration, you get loud clicking, buzzing, or chattering. It might start and stop erratically. Sometimes it runs but produces basically no pressure — gauge barely moves even with no portafilter in (which should give you nearly full pressure since there’s no resistance).
Try this: remove the portafilter completely, hit brew. Water should gush from the group head. If the flow is weak or sputters with nothing blocking it, the pump isn’t generating adequate pressure and it’s probably failing.
The Fix
The ulka vibration pump (E5 or E6 depending on your machine) costs $20-40 online. Replacing it means removing the bottom panel (4 Phillips screws), disconnecting the pump from its electrical and water connections, and dropping in the new one. About 30-45 minutes if you’re reasonably handy.
Still within Breville’s 2-year warranty? Call them first — they’ll send a replacement pump or arrange a repair. Outside warranty, the DIY swap is straightforward and way cheaper than a new machine.
The Complete Dial-In Guide: Getting Your Breville Dialed In
Once your machine is actually working, here’s how I dial in a new bag of beans every time. I’ve been doing this for years and it’s become second nature.
Baseline settings: Grind size 8 (external dial) on the Barista Express, internal ring at 6 (factory default). 18g dose weighed on a scale. Firm, level tamp — about 30 lbs. Target: 36g of espresso out in 25-30 seconds.
Pull your first shot and time it from button press to stop. Ignore the first 5-8 seconds — that’s pre-infusion on Breville machines. Focus on the active extraction time.
Shot too fast (under 20 seconds, watery, sour)? Grind 1-2 clicks finer. Or add half a gram to a gram more coffee. Pull again.
Shot too slow (over 35 seconds, thick, bitter)? Go 1-2 clicks coarser. Or drop 0.5-1g of coffee. Pull again.
Shot chokes completely (barely any flow, gauge pinned right)? You’re way too fine. Go 3-4 clicks coarser or pull out 1-2g of dose.
Timing’s right but taste is off? Sour means grind slightly finer or pull a longer shot. Bitter means grind slightly coarser or pull a shorter shot. Sweet and balanced? Mark your settings and don’t touch anything until you switch beans.
For more on troubleshooting specific Barista Express issues beyond just shot pulling, our Breville Barista Express troubleshooting guide covers all 10 common problems.
When to Contact Support
Most shot-pulling issues are totally fixable at home. But call Breville (1-866-273-8455, Monday through Friday) if the pump makes grinding, scraping, or loud clicking that doesn’t improve after descaling. Or if water won’t flow through the group head even with no portafilter. Or if the machine leaks internally when you try to brew. Or — this should go without saying — if you smell burning or notice any electrical weirdness.
Their 2-year warranty covers manufacturing defects and component failures. In my experience they’re pretty responsive and will send replacement parts for confirmed issues. Have your model number and serial number handy — both are on the bottom of the machine.
Final Thoughts
That’s what makes Breville ownership endearing to us home baristas — the machines are fixable. A Breville that won’t pull shots isn’t a dead machine. It’s a machine asking for a little attention.
From what I’ve seen across three machines and dozens of troubleshooting sessions: the fix is grind adjustment about 70% of the time. Puck prep about 15%. Cleaning and descaling about 10%. Actual mechanical failure? Maybe 5%, and usually only on machines that are years old or haven’t been maintained.
Work through the seven fixes in order. Take notes on what you try. Espresso is a game of small adjustments, and once you understand how grind size, dose, and distribution interact, diagnosing problems takes minutes instead of hours.
If you’re debating whether to stick with Breville or try something else, our DeLonghi espresso machine troubleshooting guide and best espresso machines with grinders guide can help you weigh your options.