When the Descale light stays on, the Keurig K‑Iced Essentials needs a full descaling cycle. The manufacturer’s guide prescribes a step‑by‑step sequence using Keurig Descaling Solution, a ceramic mug, and a sink. The process takes about 20 minutes and ends when the DESCALE notification turns off after the rinse phase.
What You’ll Need
- Full bottle of Keurig Descaling Solution
- Fresh water
- Sink for hot output
- Ceramic mug of at least 10 oz (no paper cup or pod in the holder)
These items are listed in the official guide here.
Step‑by‑Step Procedure
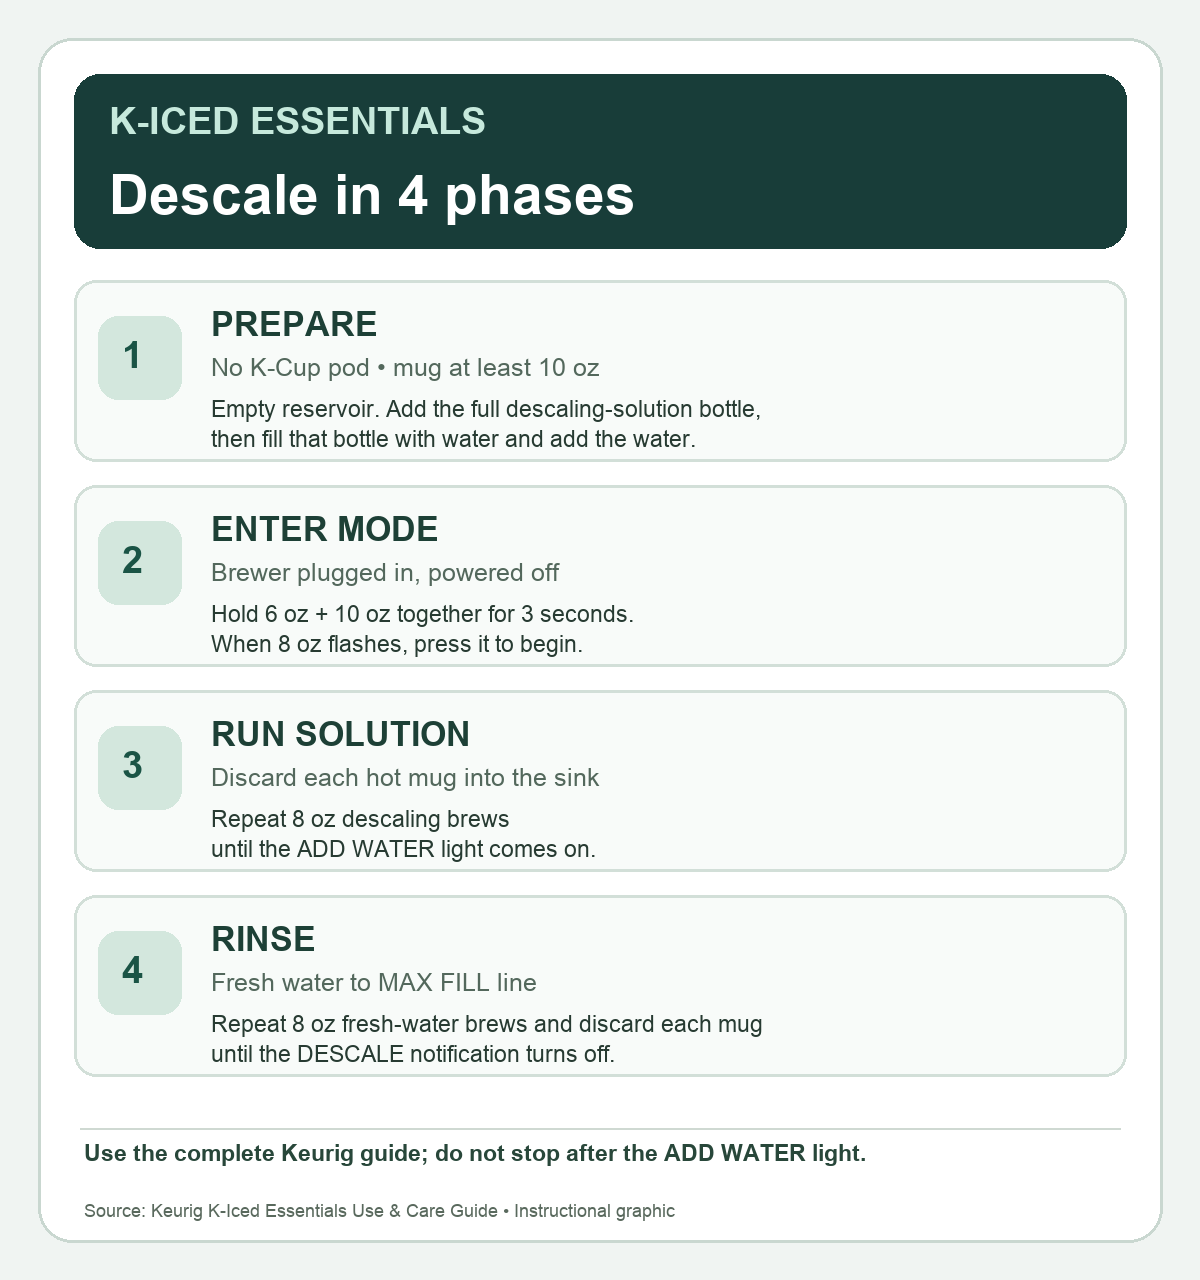
- Prepare the reservoir. Empty the water reservoir, pour the entire bottle of Keurig Descaling Solution into it, then fill the now‑empty bottle with fresh water and pour that water into the reservoir. Place the ceramic mug on the drip tray and leave the K‑Cup pod out source.
- Enter Descale Mode. With the brewer plugged in but powered off, press and hold the 6 oz and 10 oz buttons together for 3 seconds. The 8 oz button will flash, indicating Descale Mode is active source.
- Run solution brews. When the 8 oz button flashes, press it to start a descaling brew. Discard each hot output into the sink. Repeat 8 oz brews until the ADD WATER light illuminates. Do not switch to fresh water before this light appears source.
- Rinse with fresh water. Empty the reservoir and refill it to the MAX FILL line with fresh water source. Press the flashing 8 oz button for each rinse, discard the hot output, and repeat until the DESCALE notification turns off. The brewer has exited Descale Mode and is ready for use source.
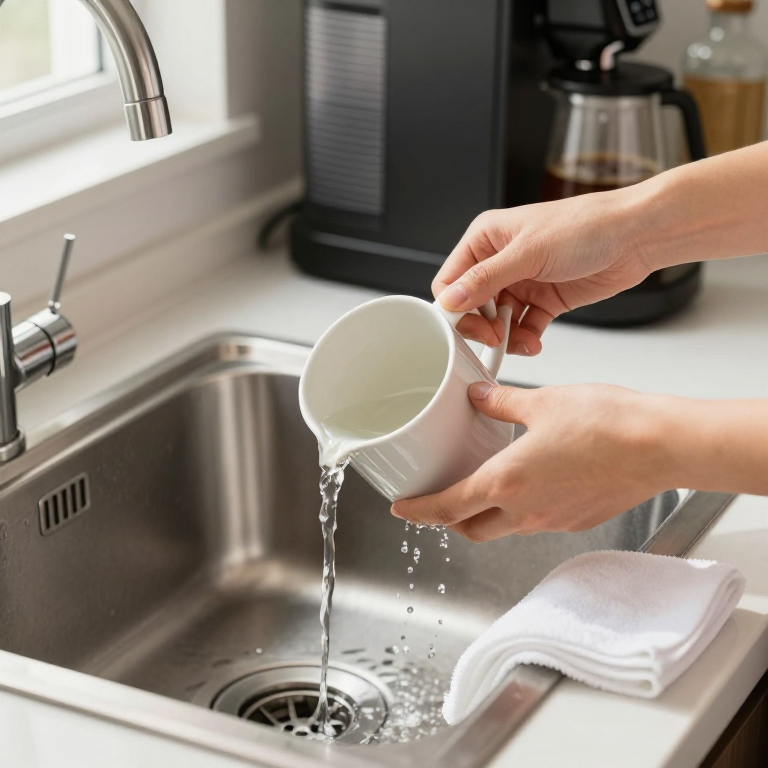
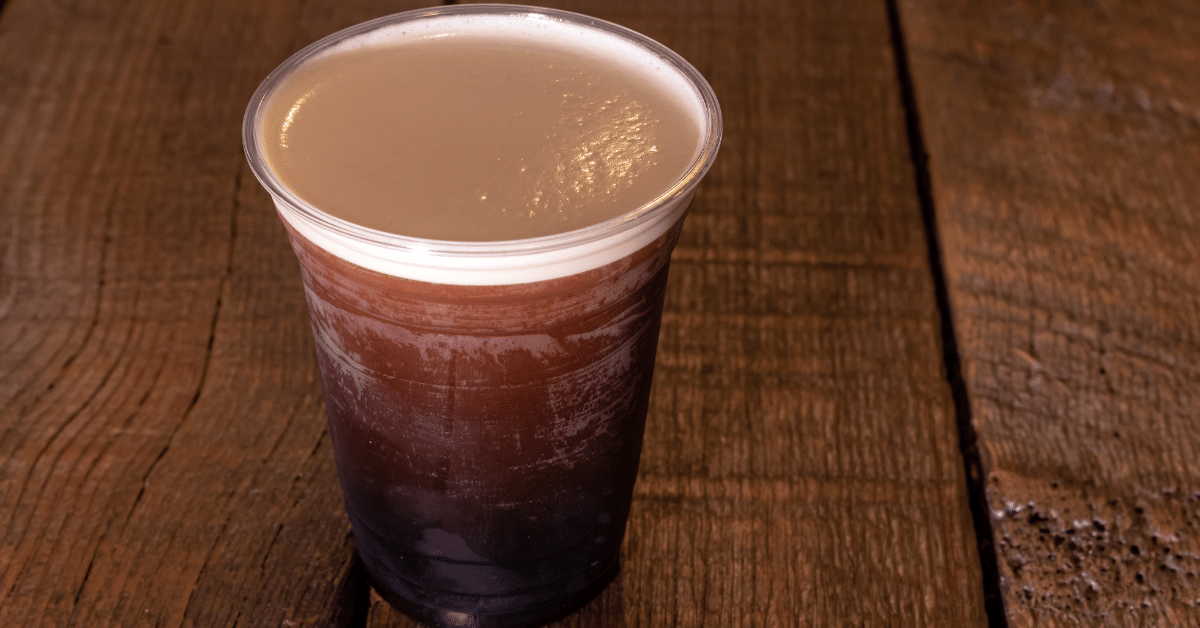
Illustrative disposal of a completed rinse brew. Repeat the Keurig guide’s rinses until the DESCALE notification turns off. - No‑flow recovery (if needed). If you get little or no output and hear an air‑blowing sound after adding the descaler, turn off and unplug the brewer, discard the remaining solution, rinse the reservoir thoroughly, and refill it with water. Plug the brewer in, power it on, and repeat the fresh‑water rinses. If the problem persists, leave the brewer unplugged for at least 30 minutes before resuming source.
What to Expect During Descaling
Foam may appear as the descaling solution reacts with scale. Keurig notes that foam alone does not indicate a failed procedure source.
Decision Checklist for Home Users
- Is your machine a Keurig K‑Iced Essentials? Yes → proceed.
- Do you have a ceramic mug ≥10 oz and no pod in the holder? Yes → proceed.
- Have you followed the 3‑second hold on the 6 oz and 10 oz buttons? Yes → Descale Mode activated.
- Did you run solution brews until the ADD WATER light? Yes → move to rinse.
- Did you rinse with fresh water until the DESCALE notification turns off? Yes → machine ready.
- Did you encounter a no‑flow situation? No → no recovery needed.
Limitations of the Guide
The instructions apply only to the Keurig K‑Iced Essentials. They do not cover other K‑iced models, third‑party descalers, or vinegar solutions. The guide does not guarantee removal of all scale or predict exact output volumes.
By following the steps above, the DESCALE notification should turn off once the guide’s rinse phase is complete, indicating the brewer has exited Descale Mode per the manufacturer’s guide.