The Recipe First — Then We Talk
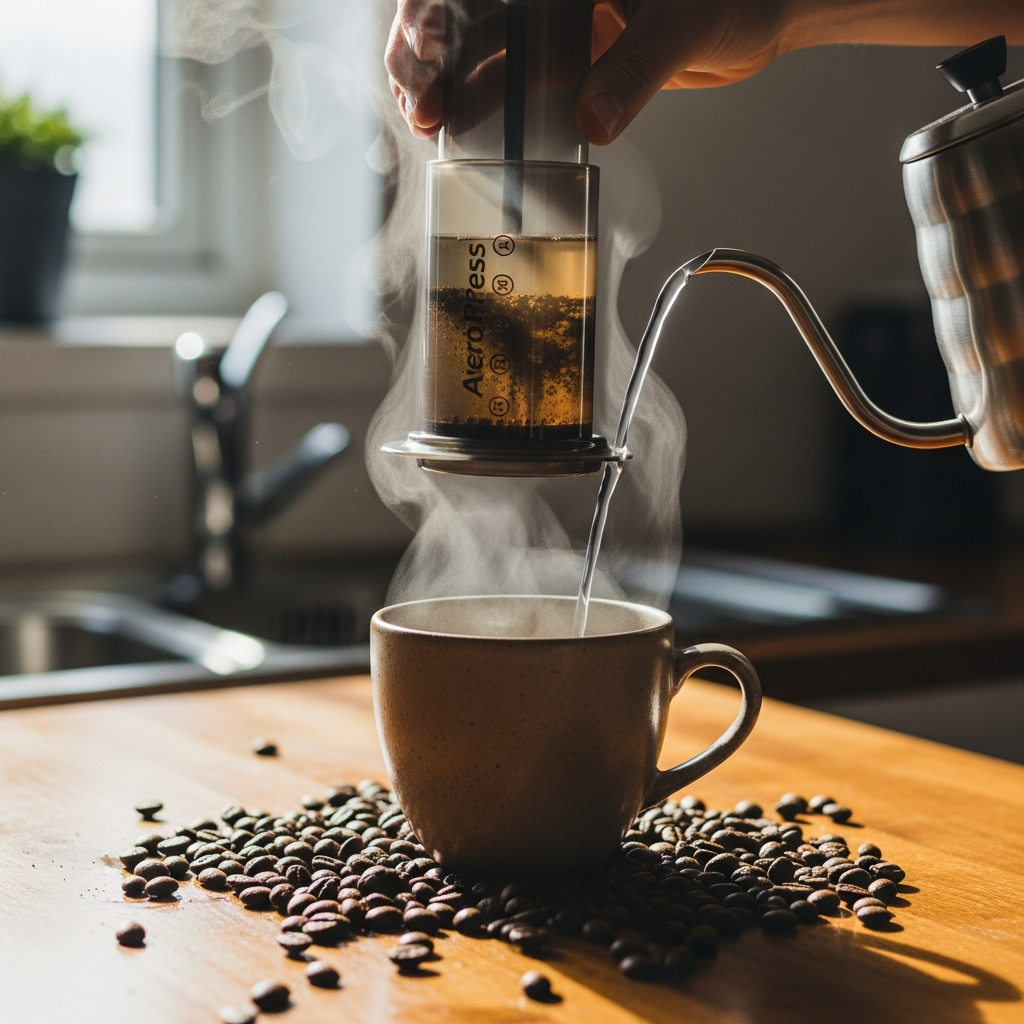
James Hoffmann’s AeroPress method has gotten complicated with all the competing recipes and YouTube takes flying around. So let’s cut straight to it: 11 grams of coffee, 200 milliliters of water at 100°C, ground medium-fine, brewed inverted for a 2-minute steep, then a slow 30-second press. That’s a 1:18 brew ratio. He published it in his “Ultimate AeroPress Technique” video, and honestly, it became the reference point almost overnight. Today, I’ll share everything I’ve learned from running this recipe obsessively.
But which version are we talking about, exactly? This is the inverted method — the one where the AeroPress sits upside down during the steep. There’s also a standard orientation with the filter at the bottom from the start. Hoffmann went inverted deliberately. If you landed here googling “James Hoffmann AeroPress method” and just need the quick list, that’s your list. Now comes the part worth actually reading: what each of those numbers is doing and why messing with them breaks the cup.
Why Inverted and What You’re Risking if You Don’t
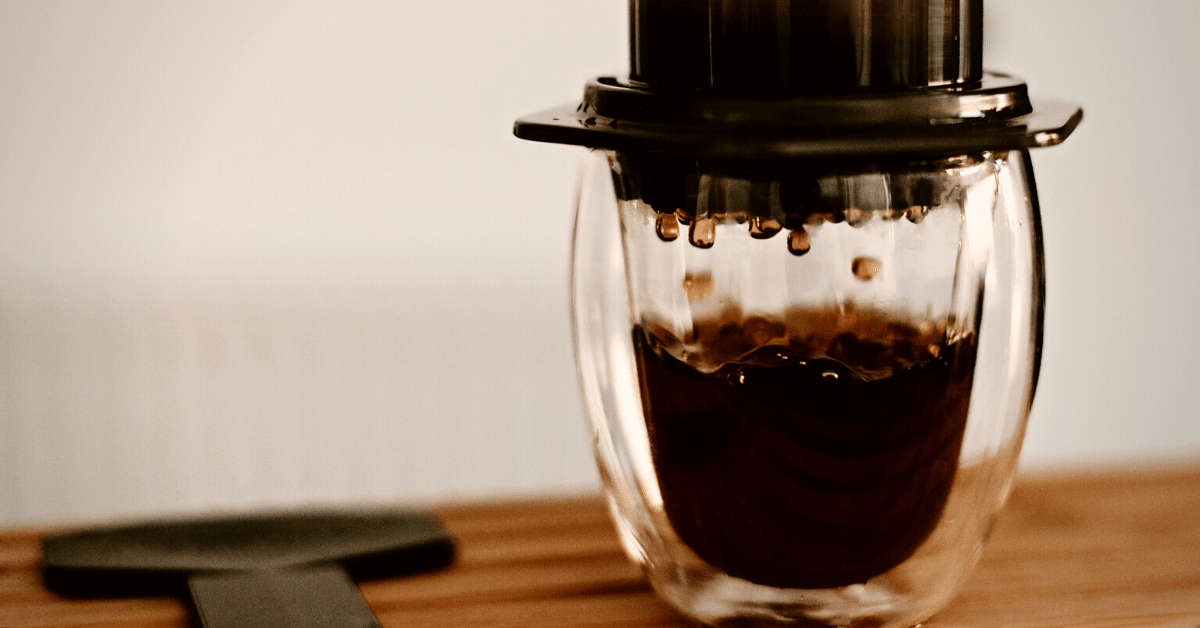
The inverted setup — chamber on top, plunger at the bottom acting as a temporary floor — stops water from draining through the filter during the steep. Standard orientation doesn’t give you that. Gravity pulls liquid through the paper the entire two minutes before you’re ready to press. You’re running a partial immersion brew while simultaneously losing your extraction window. It’s two problems at once.
Hoffmann switched to inverted because full, uninterrupted contact between coffee and water is the whole point. Every particle stays saturated. Extraction runs evenly. The cup tastes cleaner — not because of some abstract brewing theory, but because you’re no longer dragging over-extracted, stale-tasting liquid out of the bottom of a too-long drip. That’s what makes the inverted approach endearing to anyone who’s tasted both side by side.
Probably should have mentioned this earlier, honestly — the flip intimidates people. Hot water, upside-down cylinder, a rubber plunger as the only seal between your coffee and your lap. Here’s what I actually learned after doing this roughly three hundred times: the cap needs to go on snug. Not hand-tight and hopeful. Snug enough that you feel real resistance. Then flip with commitment. Hesitation halfway through is what causes spills — not the flip itself. My first three attempts were genuinely nerve-wracking. Attempts four through three hundred were fine.
Is the risk real? Yes. Overstated in every Reddit thread about it? Also yes. Third brew, it becomes muscle memory. The cleaner, more controlled cup on the other side is worth three slightly anxious mornings.
Grind Size Is Where Most People Mess This Up
Medium-fine. Not espresso fine. Not pour-over coarse. Medium-fine.
On a Comandante C40, that’s roughly 20 to 22 clicks from zero. On a Baratza Encore, somewhere around 15 to 17. No grinder with click settings? Pinch a small amount between your fingers — it should feel like coarse sand with a touch more resistance than you’d expect. That’s the zone.
Grind size matters more here than in almost any other brew method because the contact time is fixed and short. Two minutes. That’s the entire window. Too coarse, and the water passes through without pulling enough out — thin, sour, flat. Too fine, and you’re squeezing water through a densely packed puck under pressure during the press, which yanks out harsh, bitter compounds before you can stop it. Medium-fine lets Hoffmann hit a clean extraction in exactly 120 seconds, then press without tasting the ugly tail end. The math only works at that grind.
I’m apparently a slow learner on this point — I tried pre-ground grocery store coffee for my first four brews. Don’t make my mistake. The cups were watery and lifeless, and I nearly blamed the recipe. Eventually I picked up a Baratza Encore for around $140, dialed to click 16, and suddenly the method worked exactly as described. That was a Tuesday in February. I haven’t bought pre-ground since.
No grinder? This method isn’t ready for you yet. Buy one first. The AeroPress is precise enough that it genuinely demands it.
The Steep and Press — Timing That Actually Matters
Pour all 200 milliliters in one go. Single stir at the top. Then wait.
Two minutes. No early pressing. No topping up. The coffee is extracting into the water column at a controlled rate, and interrupting that process costs you balance in the cup.
Stop at 90 seconds — the cup tastes thin and sour. The acids dissolved before the sweeter compounds had time to follow. Push to three minutes — harsh and bitter. The longer hot water sits with the grounds, the more tannins and late-stage bitter compounds migrate into the cup. Two minutes is where Hoffmann landed for this specific grind size and this specific water volume. Change the grind, you might need to adjust. But stick with medium-fine and 200 milliliters, and two minutes holds.
The press matters just as much. Slow. Thirty seconds. Not a quick 20-second push, not a lazy 45. The puck should push back against you — you’re not muscling the plunger down. Steady, gentle pressure for half a minute. Think of it less like pressing and more like leaning.
Stop before the hiss. This detail separates a good AeroPress cup from a genuinely great one. Near the end of the press, there’s a faint hissing sound — air forcing through a tightening puck. The liquid coming through at that moment is over-extracted. Bitter. It’s the last stubborn solubles being squeezed out under pressure, and you don’t want them. Hoffmann stops just before that sound becomes distinct. You’ll have maybe 30 to 40 milliliters still sitting in the chamber. Leave it there. Walk away.
My first ten cups tasted slightly harsh and I couldn’t figure out why. Turns out I was pressing all the way through every single time. Stopping early cleaned up the flavor profile immediately — and I mean immediately, same morning, next cup.
Tweaks Worth Making Once You’ve Run It Twice
The base recipe works. But three specific adjustments address the most common complaints from people who tried Hoffmann’s method and assumed something was wrong with their beans or their gear.
Water temperature: Hoffmann brews at 100°C — full boil. If you’re using a light roast and the cup tastes sour and thin, drop to 94 or 96°C. Slightly cooler water slows extraction just enough to land in a sweeter range with lighter beans. Darker roasts? Stay at boiling. Don’t overthink it.
Dose: The recipe calls for 11 grams. Bump to 13 grams and you get something more concentrated — espresso-adjacent, honestly. Works exceptionally well if you’re adding steamed milk. The extra body cuts through instead of disappearing. Keep the water at 200 milliliters. You’re moving from a 1:18 ratio to roughly 1:15.
Filter rinsing: Always rinse your paper filter with hot water before brewing. Skip it and the cup picks up a subtle papery taste — not ruined, but noticeably off. The rinse takes about ten seconds. I use whatever’s left in the kettle after pouring my brew water. Easy.
These aren’t vague “experiment and find your preference” suggestions. They’re the specific fixes for the specific moments when Hoffmann’s method doesn’t land right. Start with the base recipe, run it twice, then adjust from here.